For those of you that have been long time readers of the site, I’m sure you’ve seen some of my shorter blurbs about the project, with some parts lists in the different pages I’ve written up for it. Today I’m going to try and give you my full guide for something I saw a lot of guessing on in the forums. I had a 1979 GMC Sierra K1500 that I had purchased with an older GM Goodwrench 5.7 crate engine with the Vortec heads and carb intake. At some point it started making some noises eerily similar to rod knock. I never took it apart afterwards to fully diagnose, at the time I really just wanted to find a new home for a Gen III LM7 LS V8 that I had sitting around for quite some time. It was originally ordered for another car, but plans changed. I paid $425 for the engine and it only had around 50,000 miles on it. So it was the perfect time to figure out how to do the most budget LS swap I could do in a K10. (with a couple performance goodies to spice up the build)
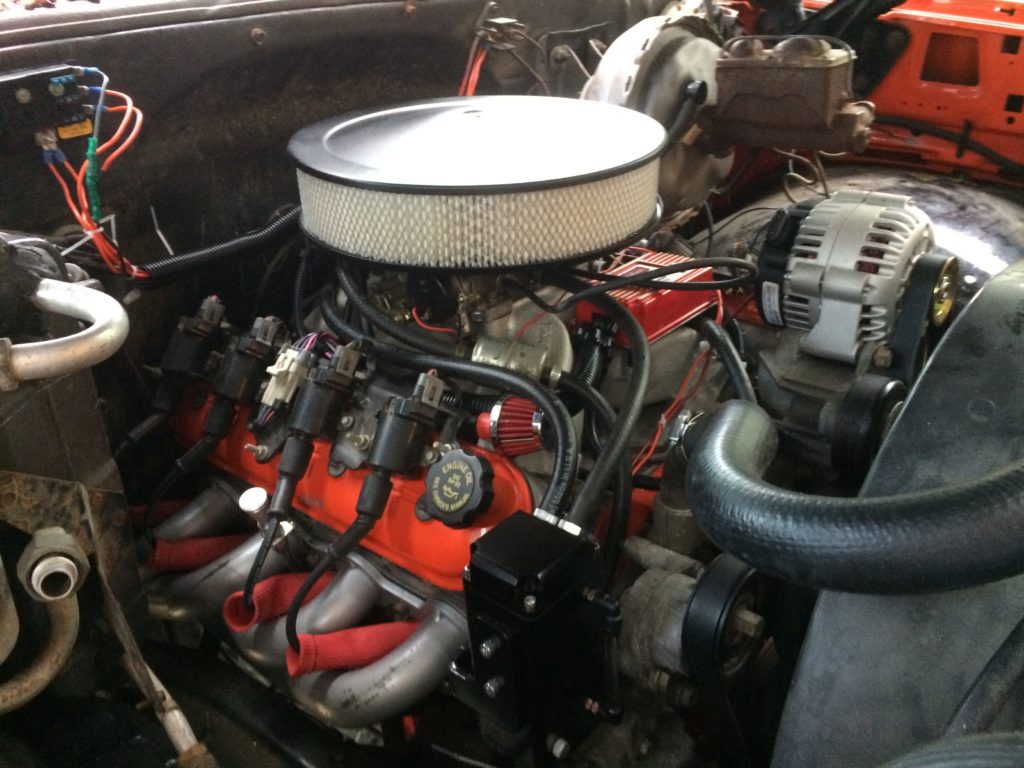
The first step in my project, since the truck was Hugger orange, and since one of the most popular colors for Chevy engines is that classic orange color was to spend some time getting the block cleaned off with Gunk Engine Degreaser to get the block cleaned. I then primed it with Duplicolor Engine Enamel Primer. After it was cleaned and primed I sprayed it with a couple coats of Chevy Orange Duplicolor Enamel. The goal with this wasn’t to get it show quality, but just enough to make it look nice under the hood.
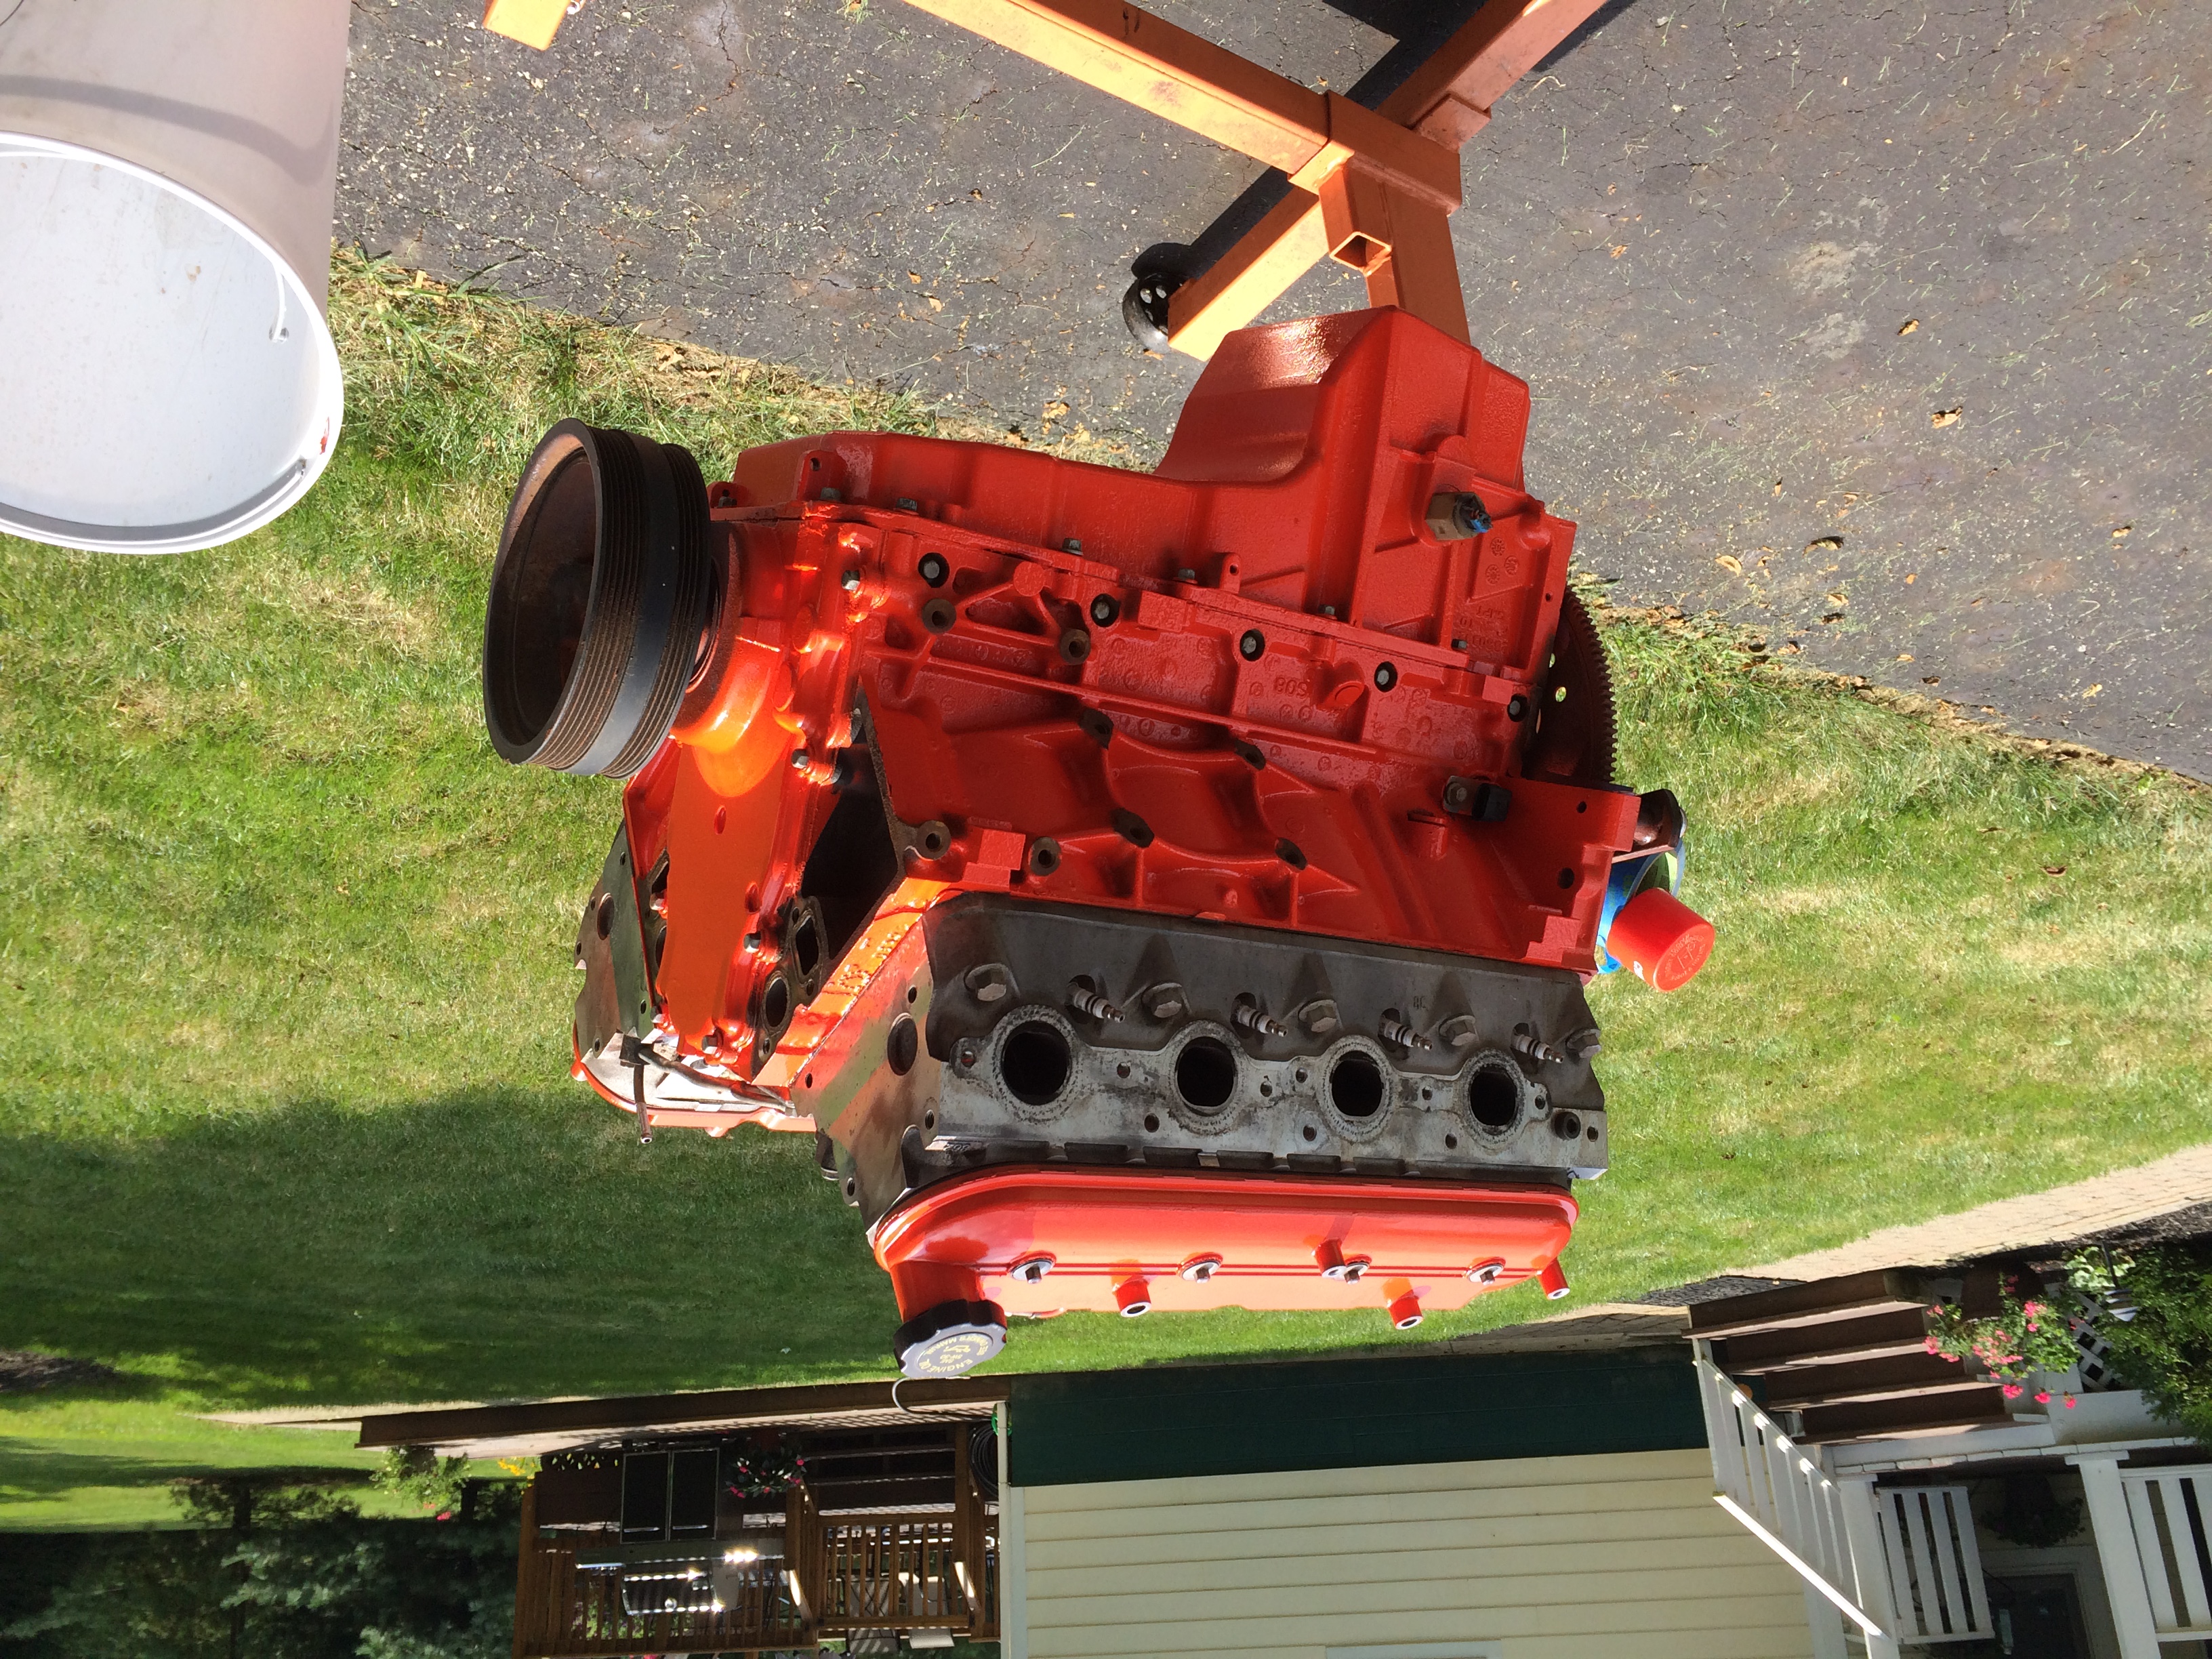
While the engine was out and easy to work on, I went about installing some of the performance goodies I ordered for it. While this step is entirely optional (and where I spent most of the budget) it’s a good idea to at least pull off the front cover, check your timing chain, and replace the gaskets. (be warned though, you will have to pull off the harmonic balancer and reinstall a new OEM torque to yeild bolt, or the ARP Reusable Harmonic Balancer Bolt torqued to 235ft/lb)
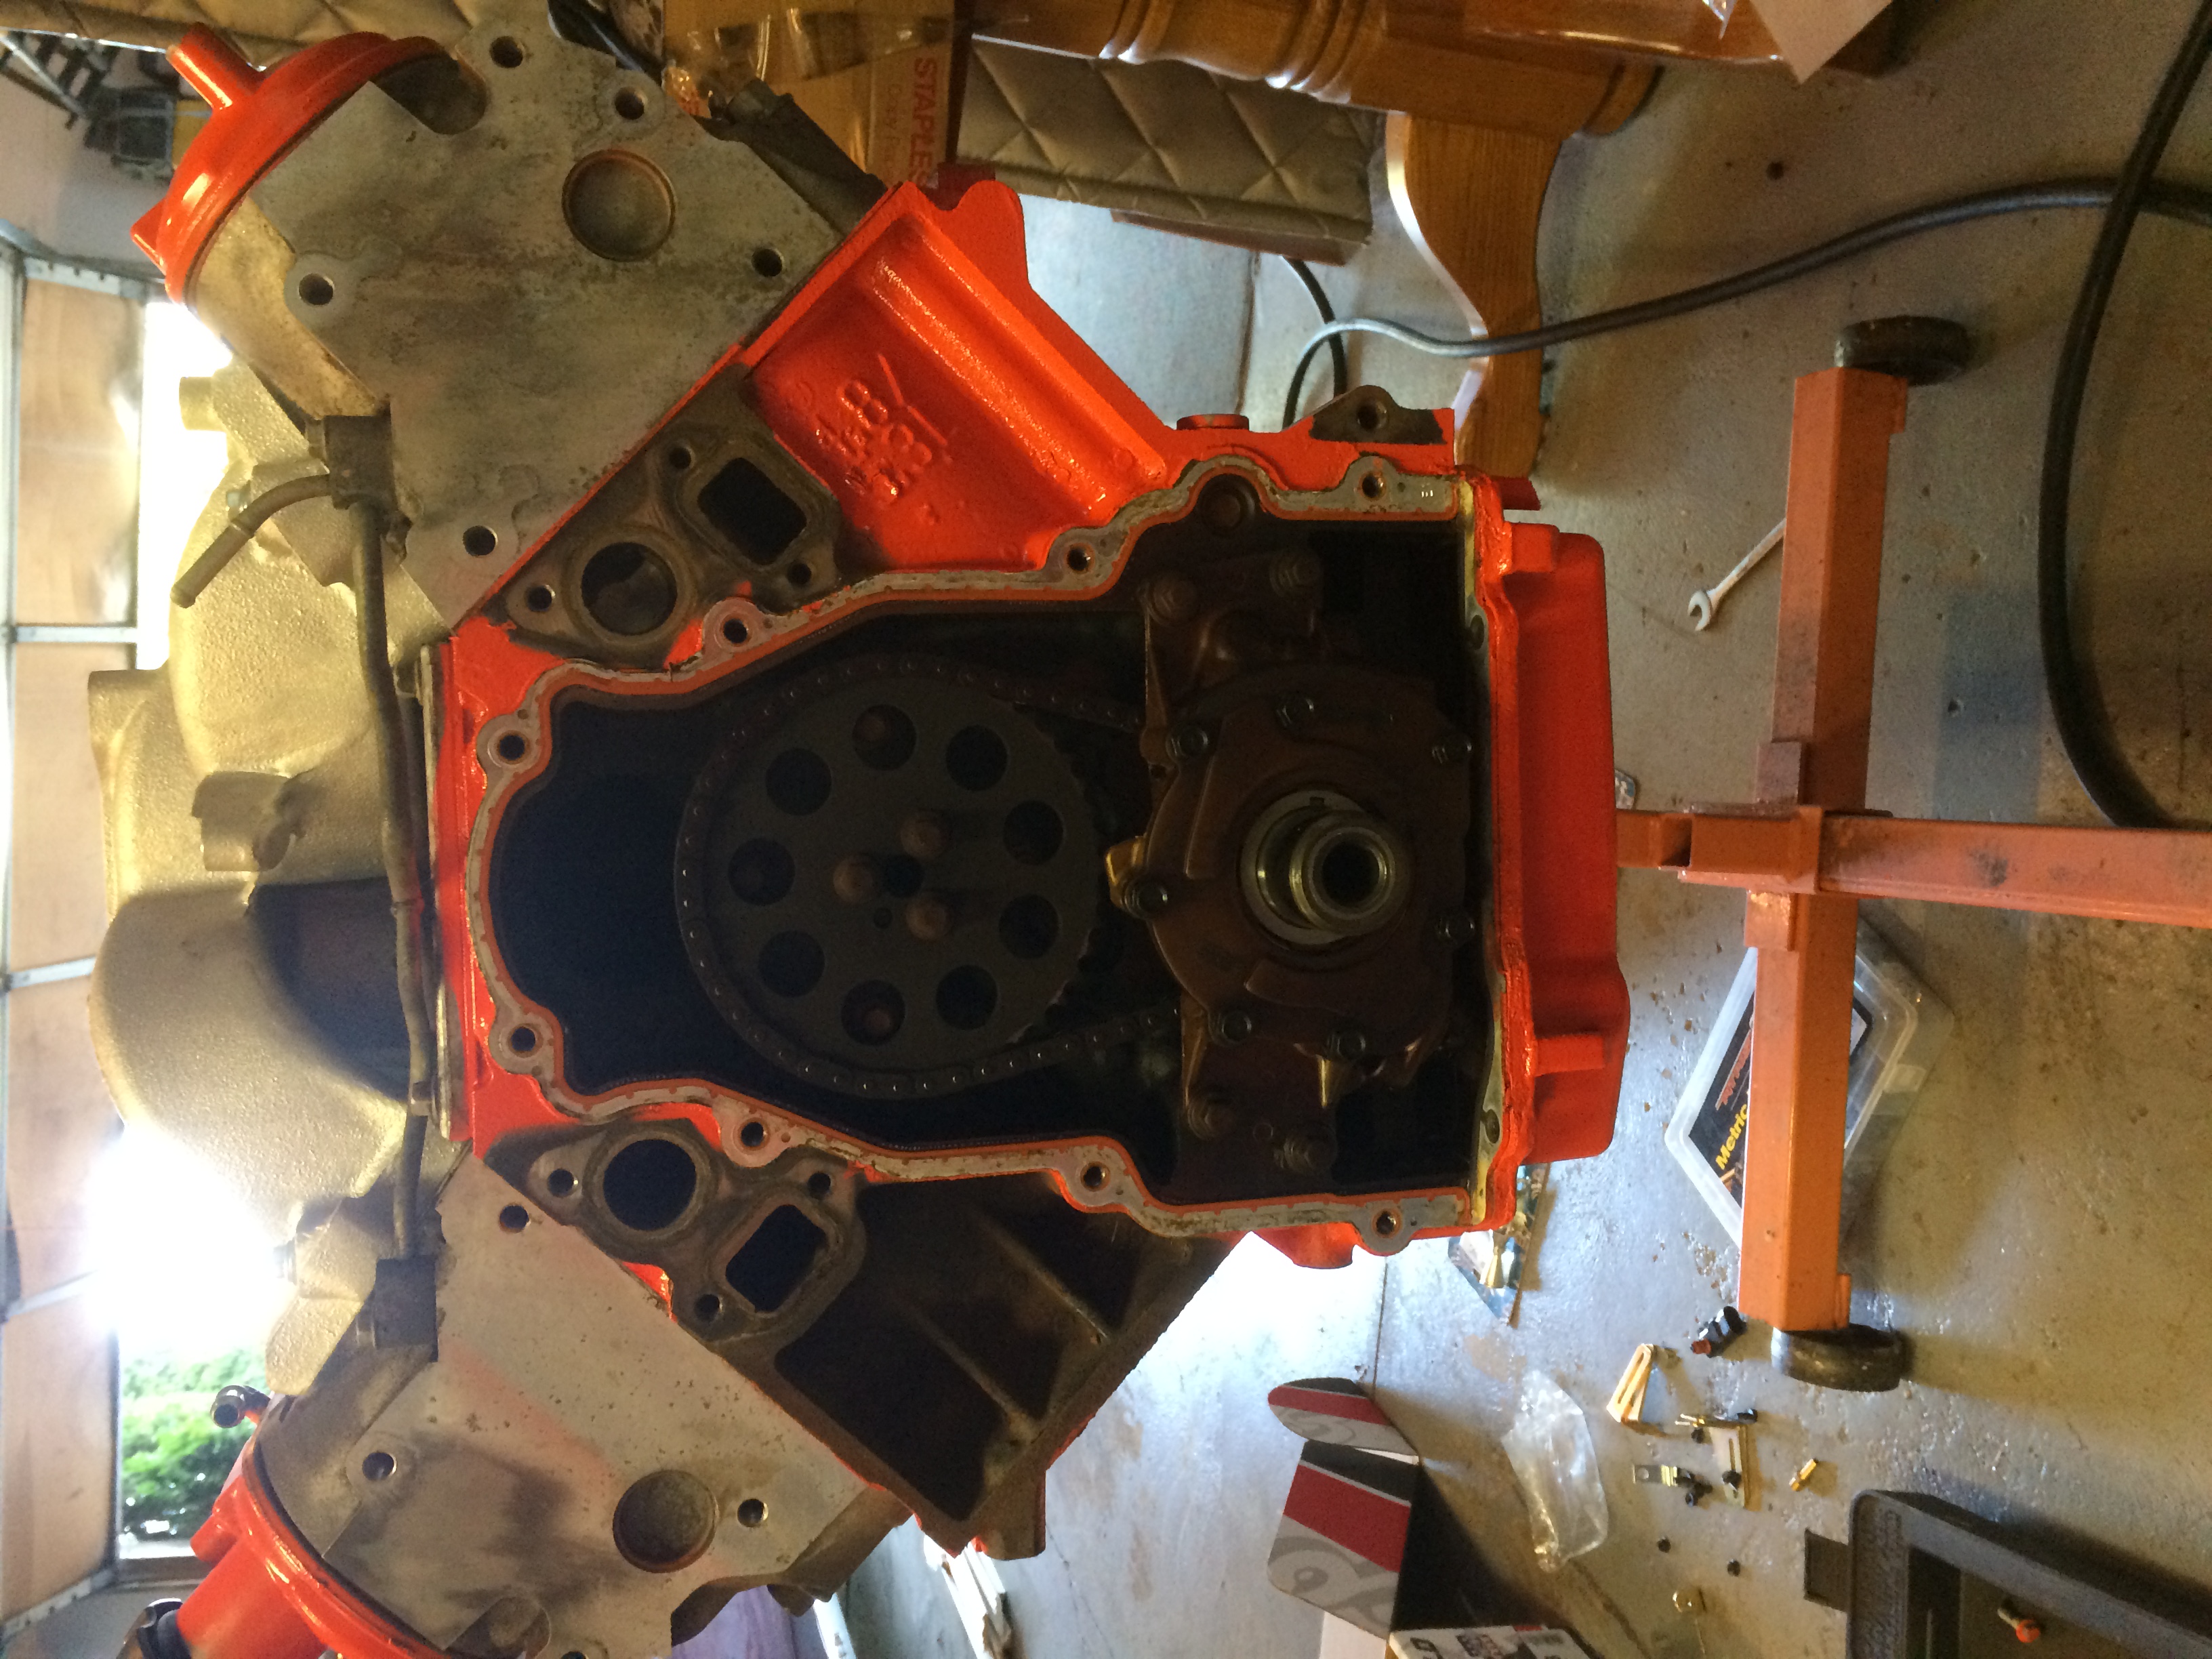
Part of my build was a cam replacement. I went with the Comp Cams XFI RPM 212/218. It retained a very good off idle characteristic while giving a big boost to the midrange. Since this was intended to just be a good street truck, the cam fit the build.

Even though the truck wasn’t intended to be a high RPM build, it still needed a little help in the valve department. The LM7 and the like are known to be valve floaters, so you’ll want to look into something that can deal with it. I went with the Chevrolet Performance LS Valve Spring Kit. To be able to install these with the heads on you’ll want this Valve Spring Compressor & a Leakdown Pressure Tester to keep pressure in the cylinder so you don’t accidentally drop a valve.
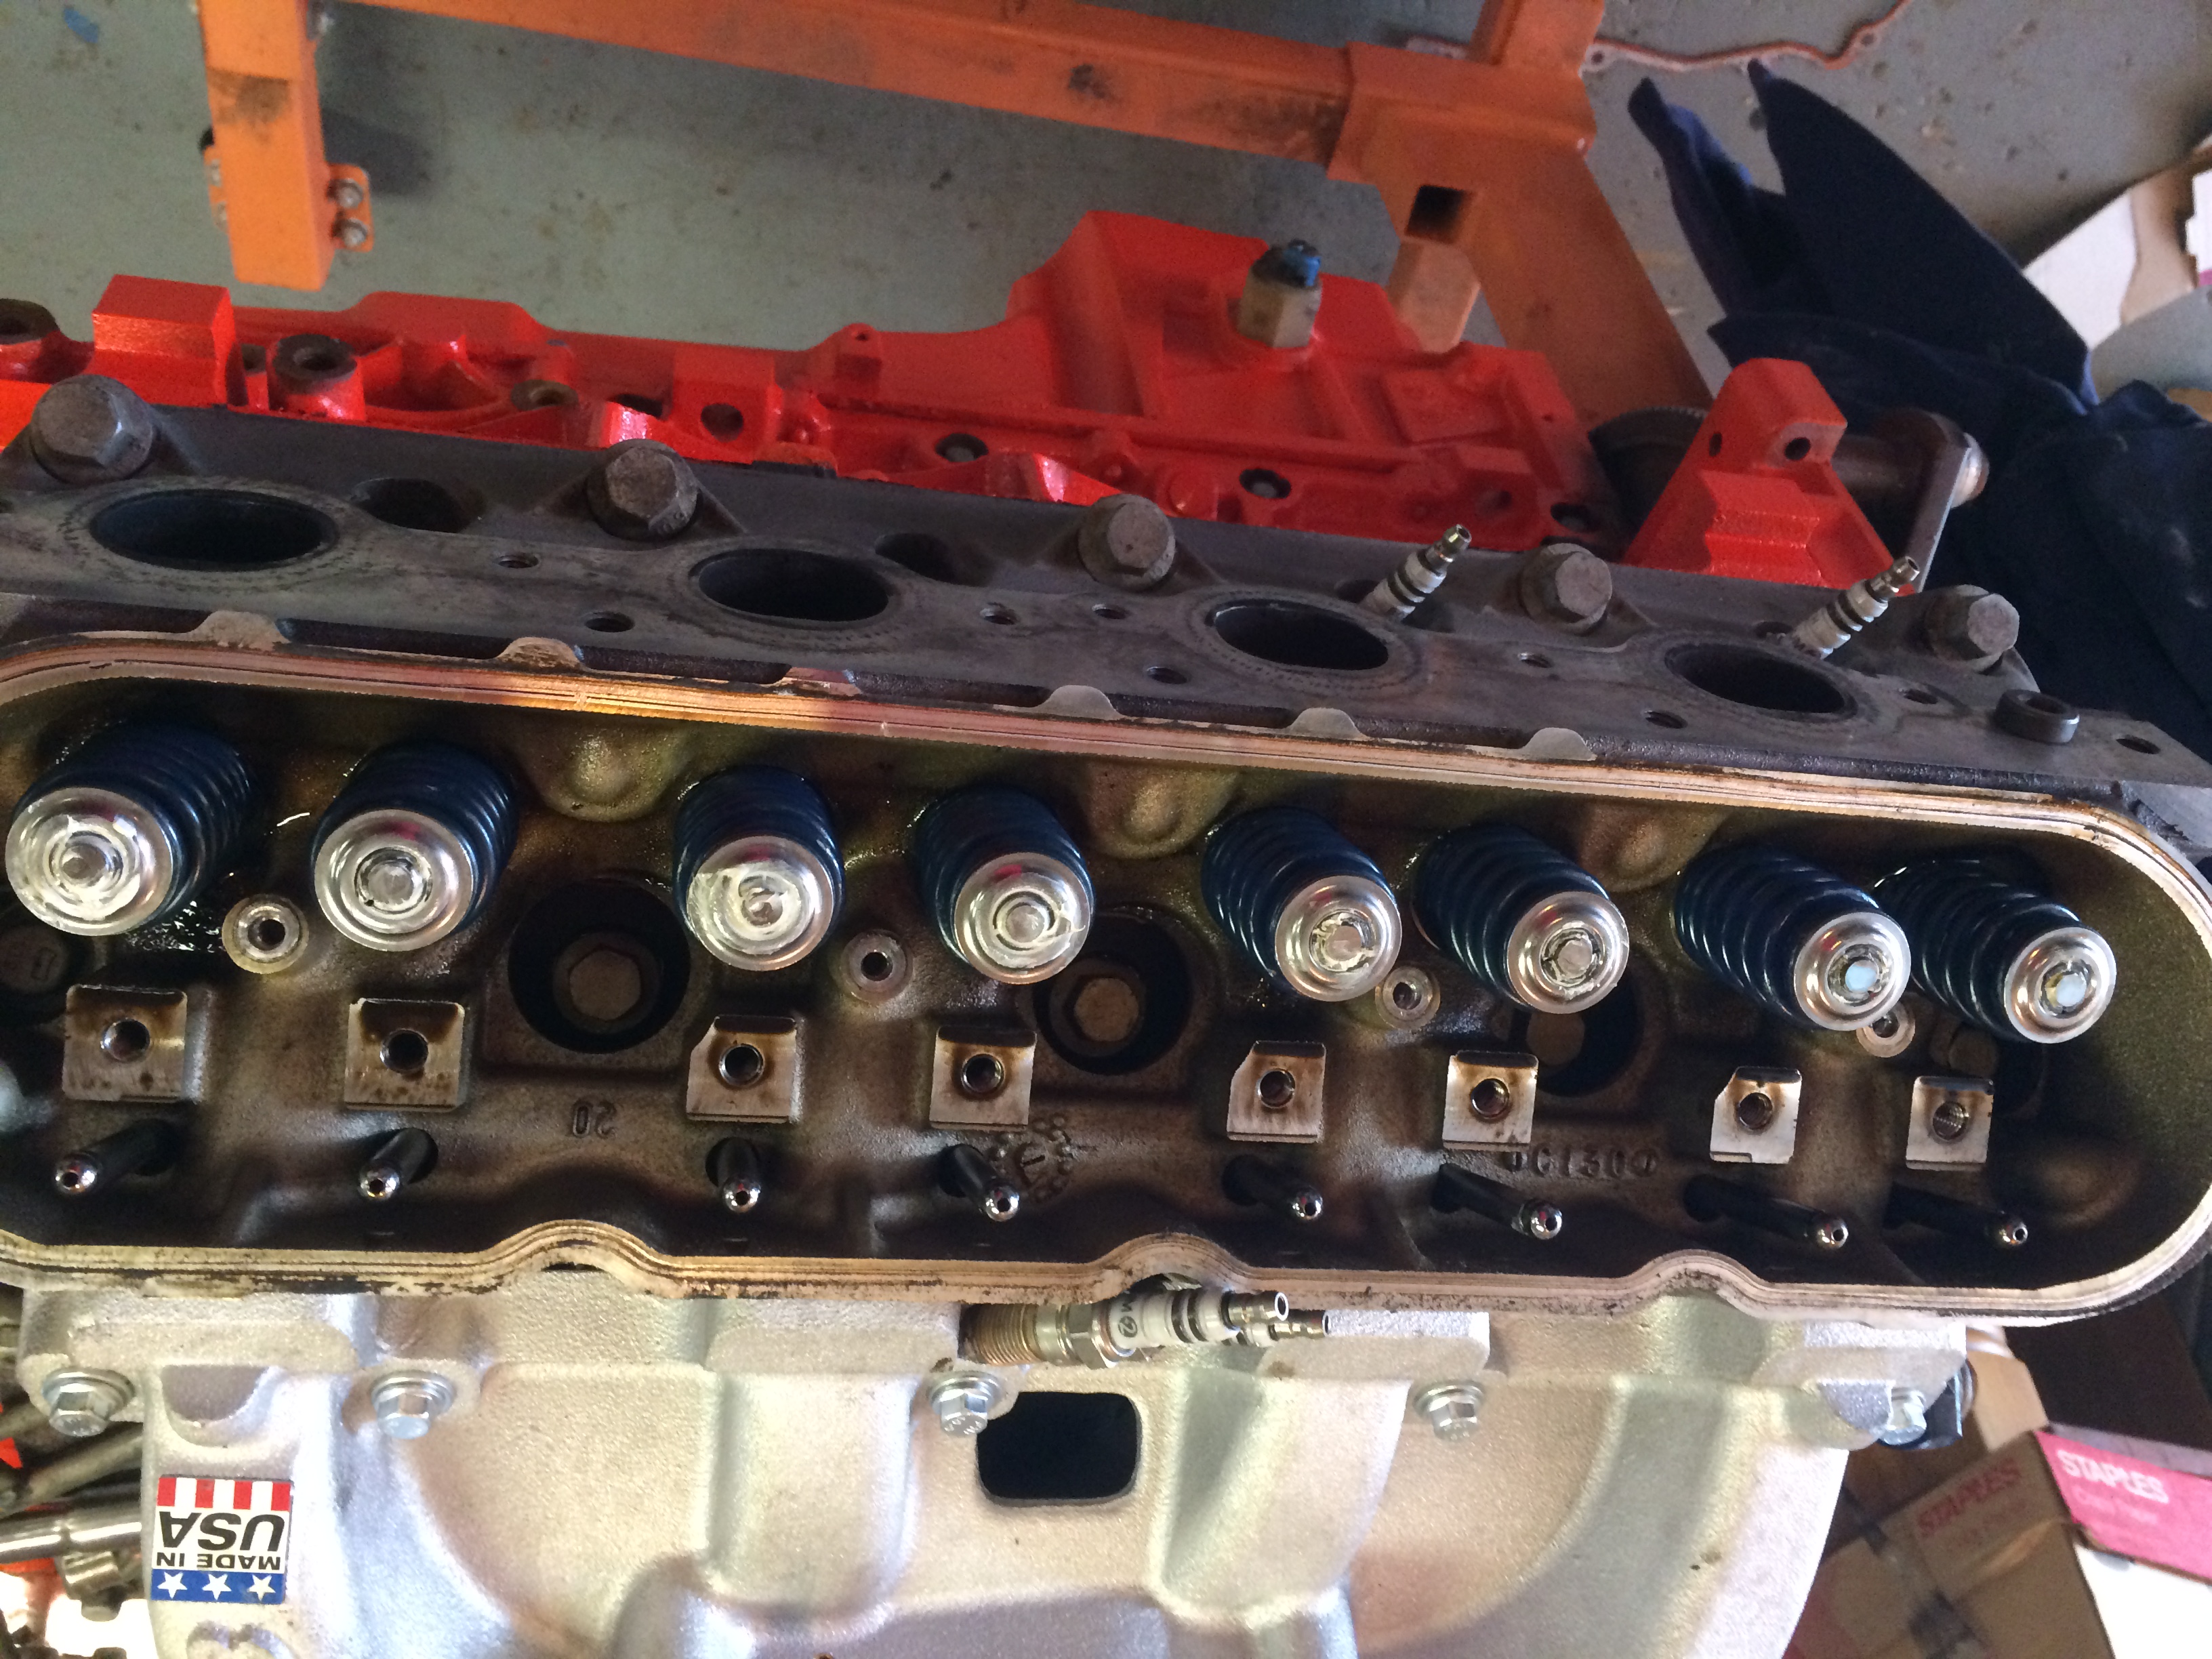
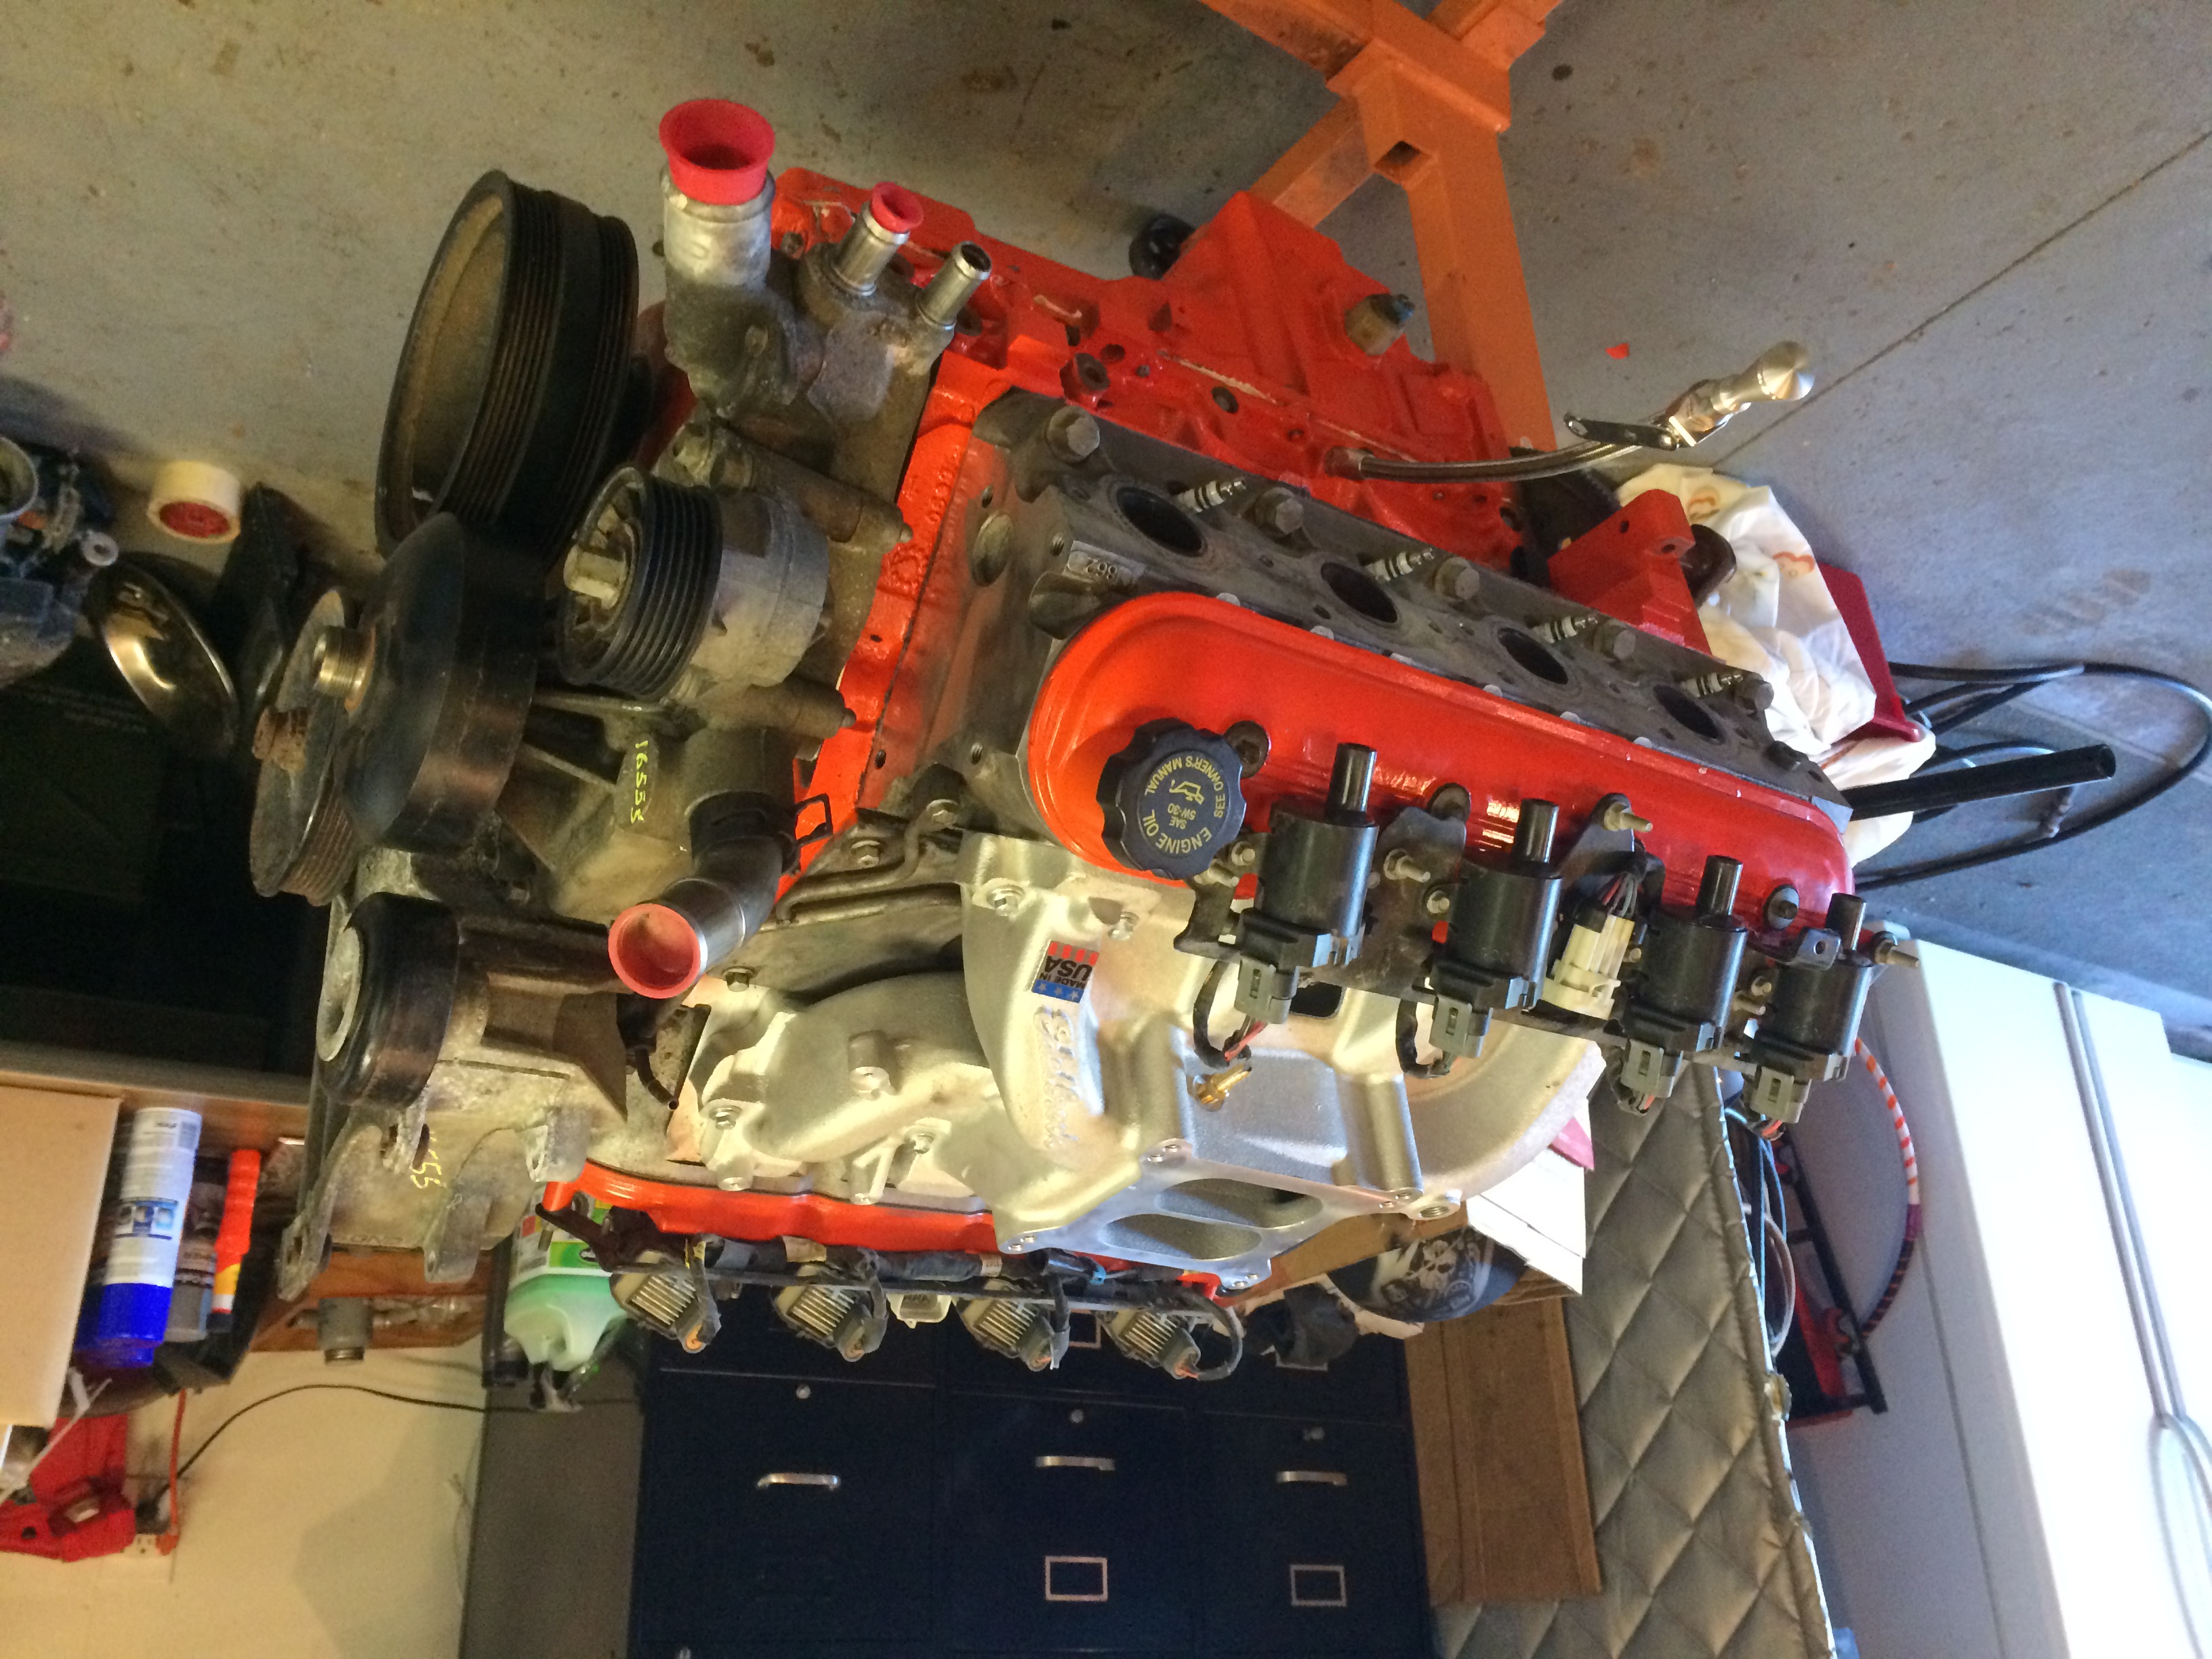
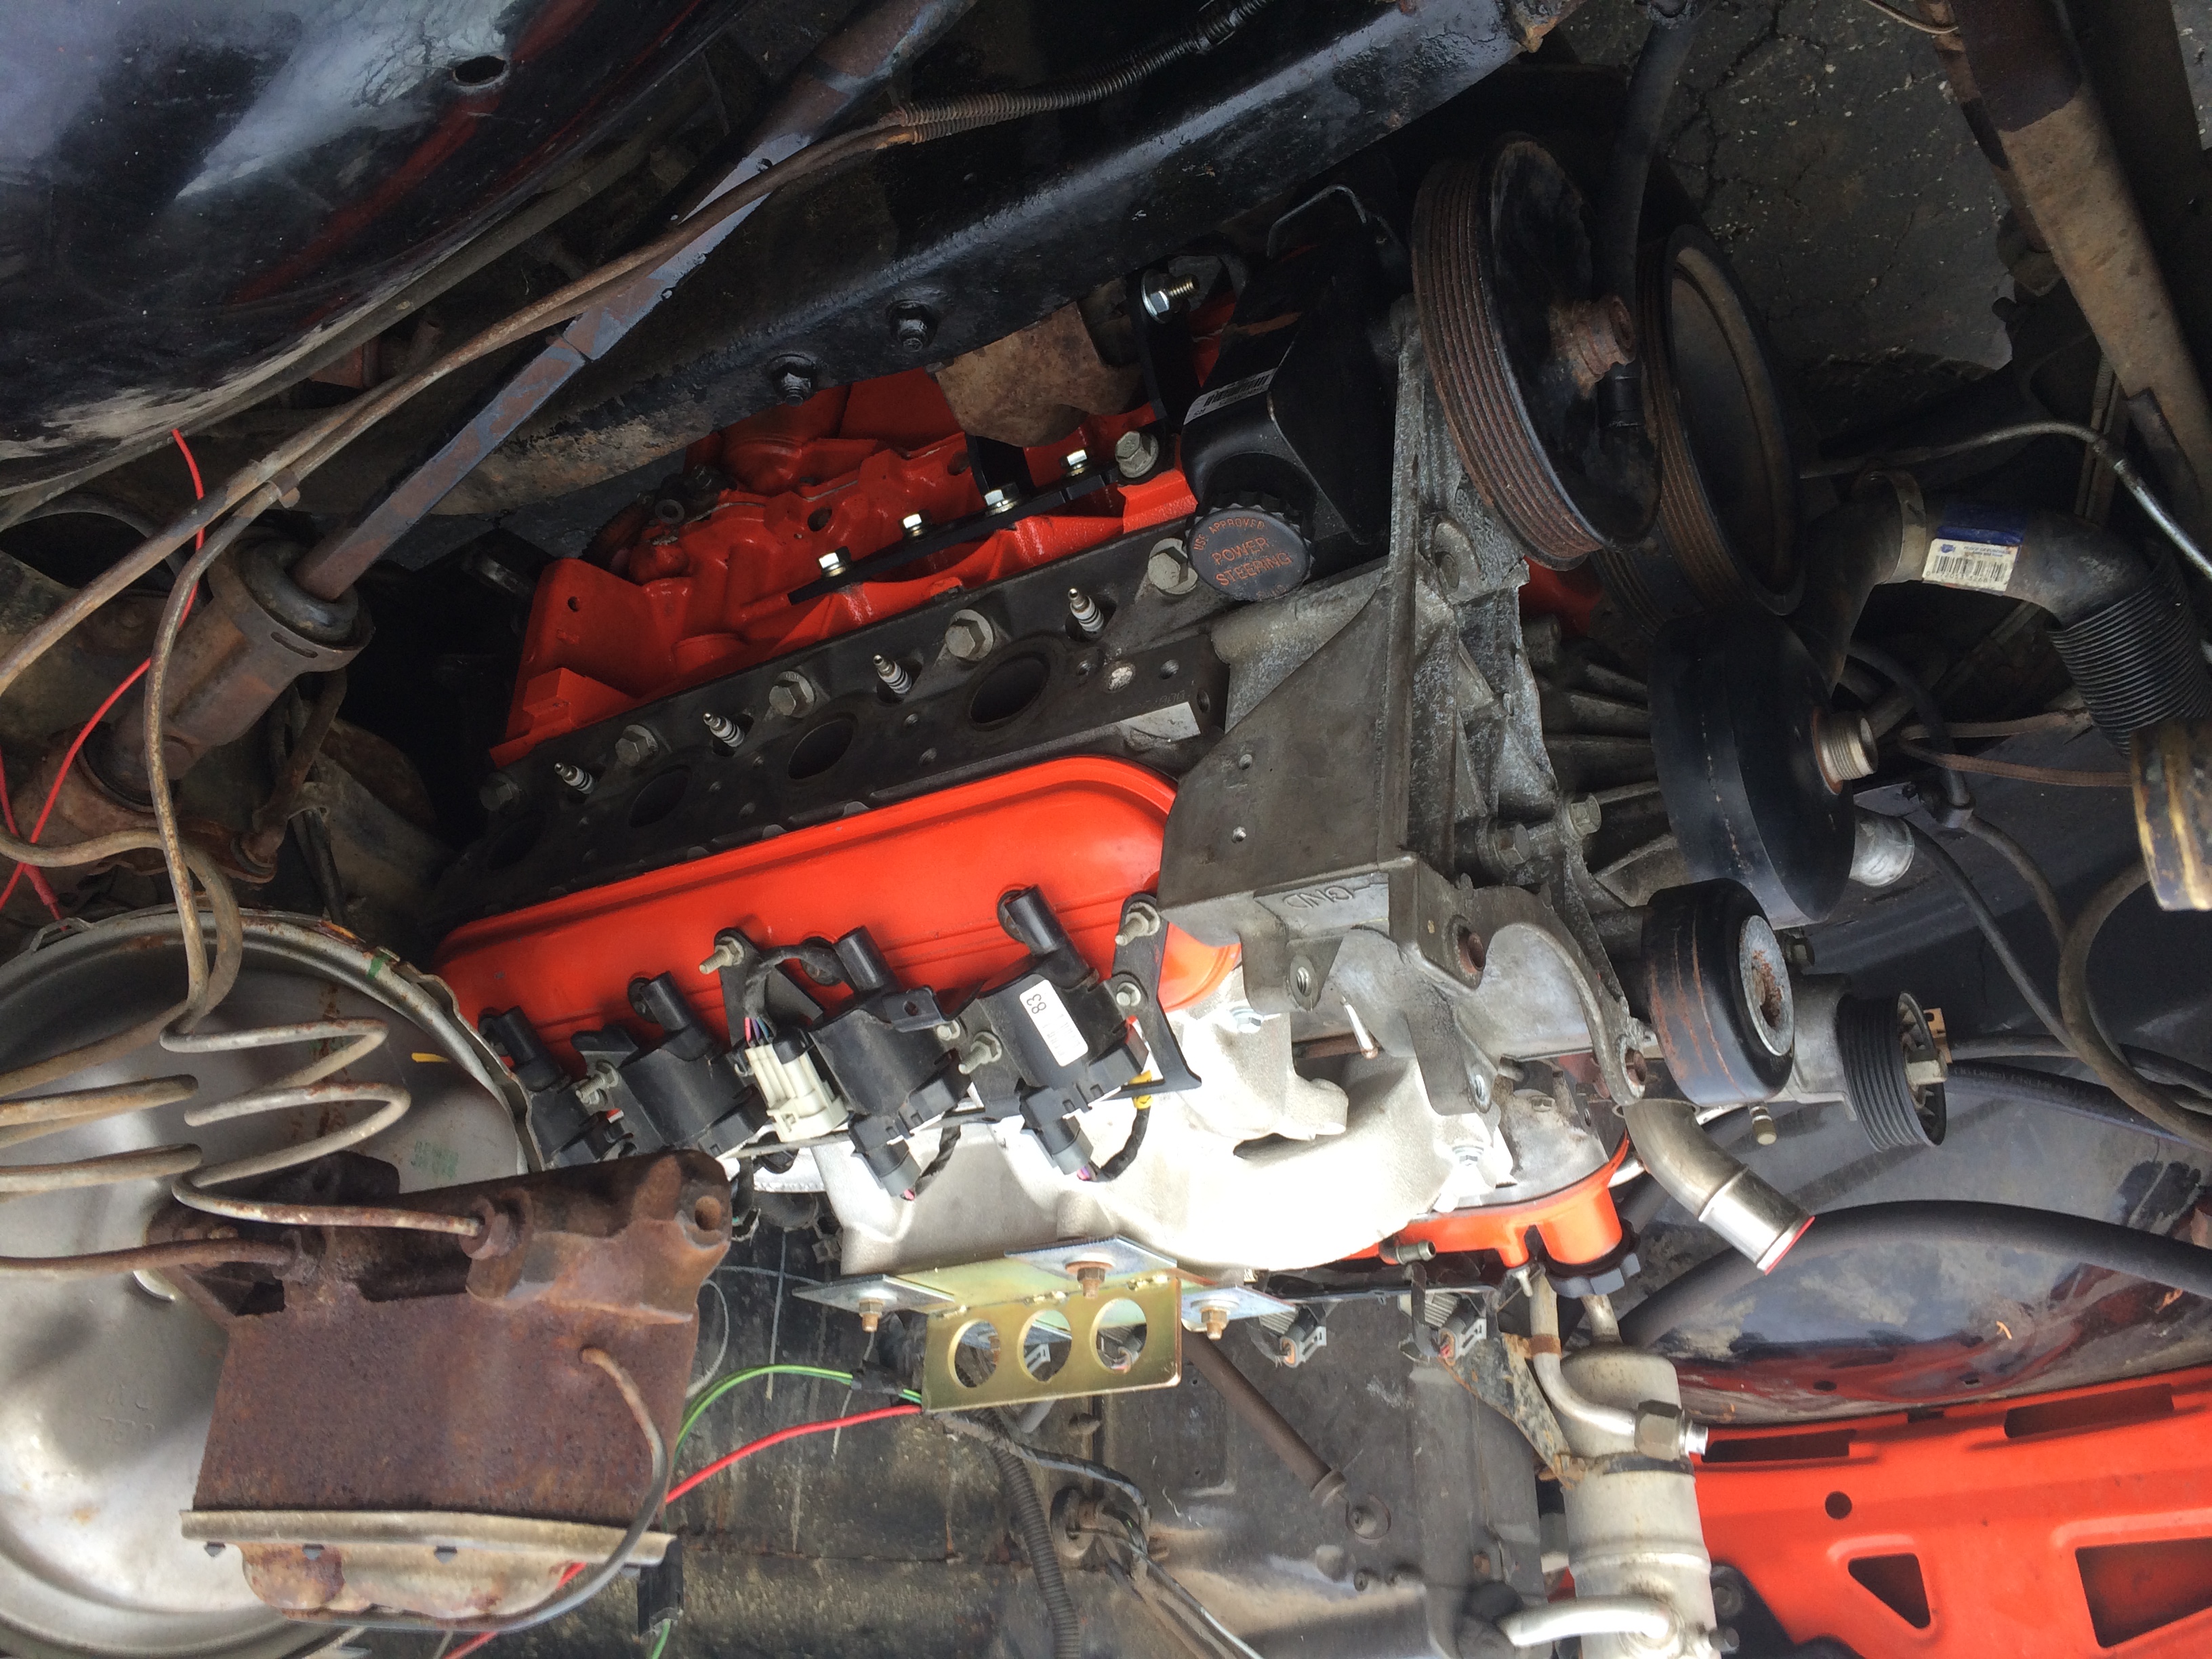
Since I wanted this build to be as simple as possible and still be able to maintain a budget, I decided on keeping the Edelbrock 600 CFM carb that sat atop the older crate engine & ordered the Edelbrock Performer LS1 Intake Manifold Kit. I’m sure if you already have a harness and don’t mind doing some extra wiring, you could do it cheaper and keep the EFI if your engine came with it. Mine didn’t and I had the carb. It was just simpler that way. As you can see I retained the factory accessory drive assembly. Depending on which route you’re going you may want to look into a dipstick solution. Mine broke off while pulling the factory exhaust manifolds. (oops) I went with the braided steel Lokar Dipstick.
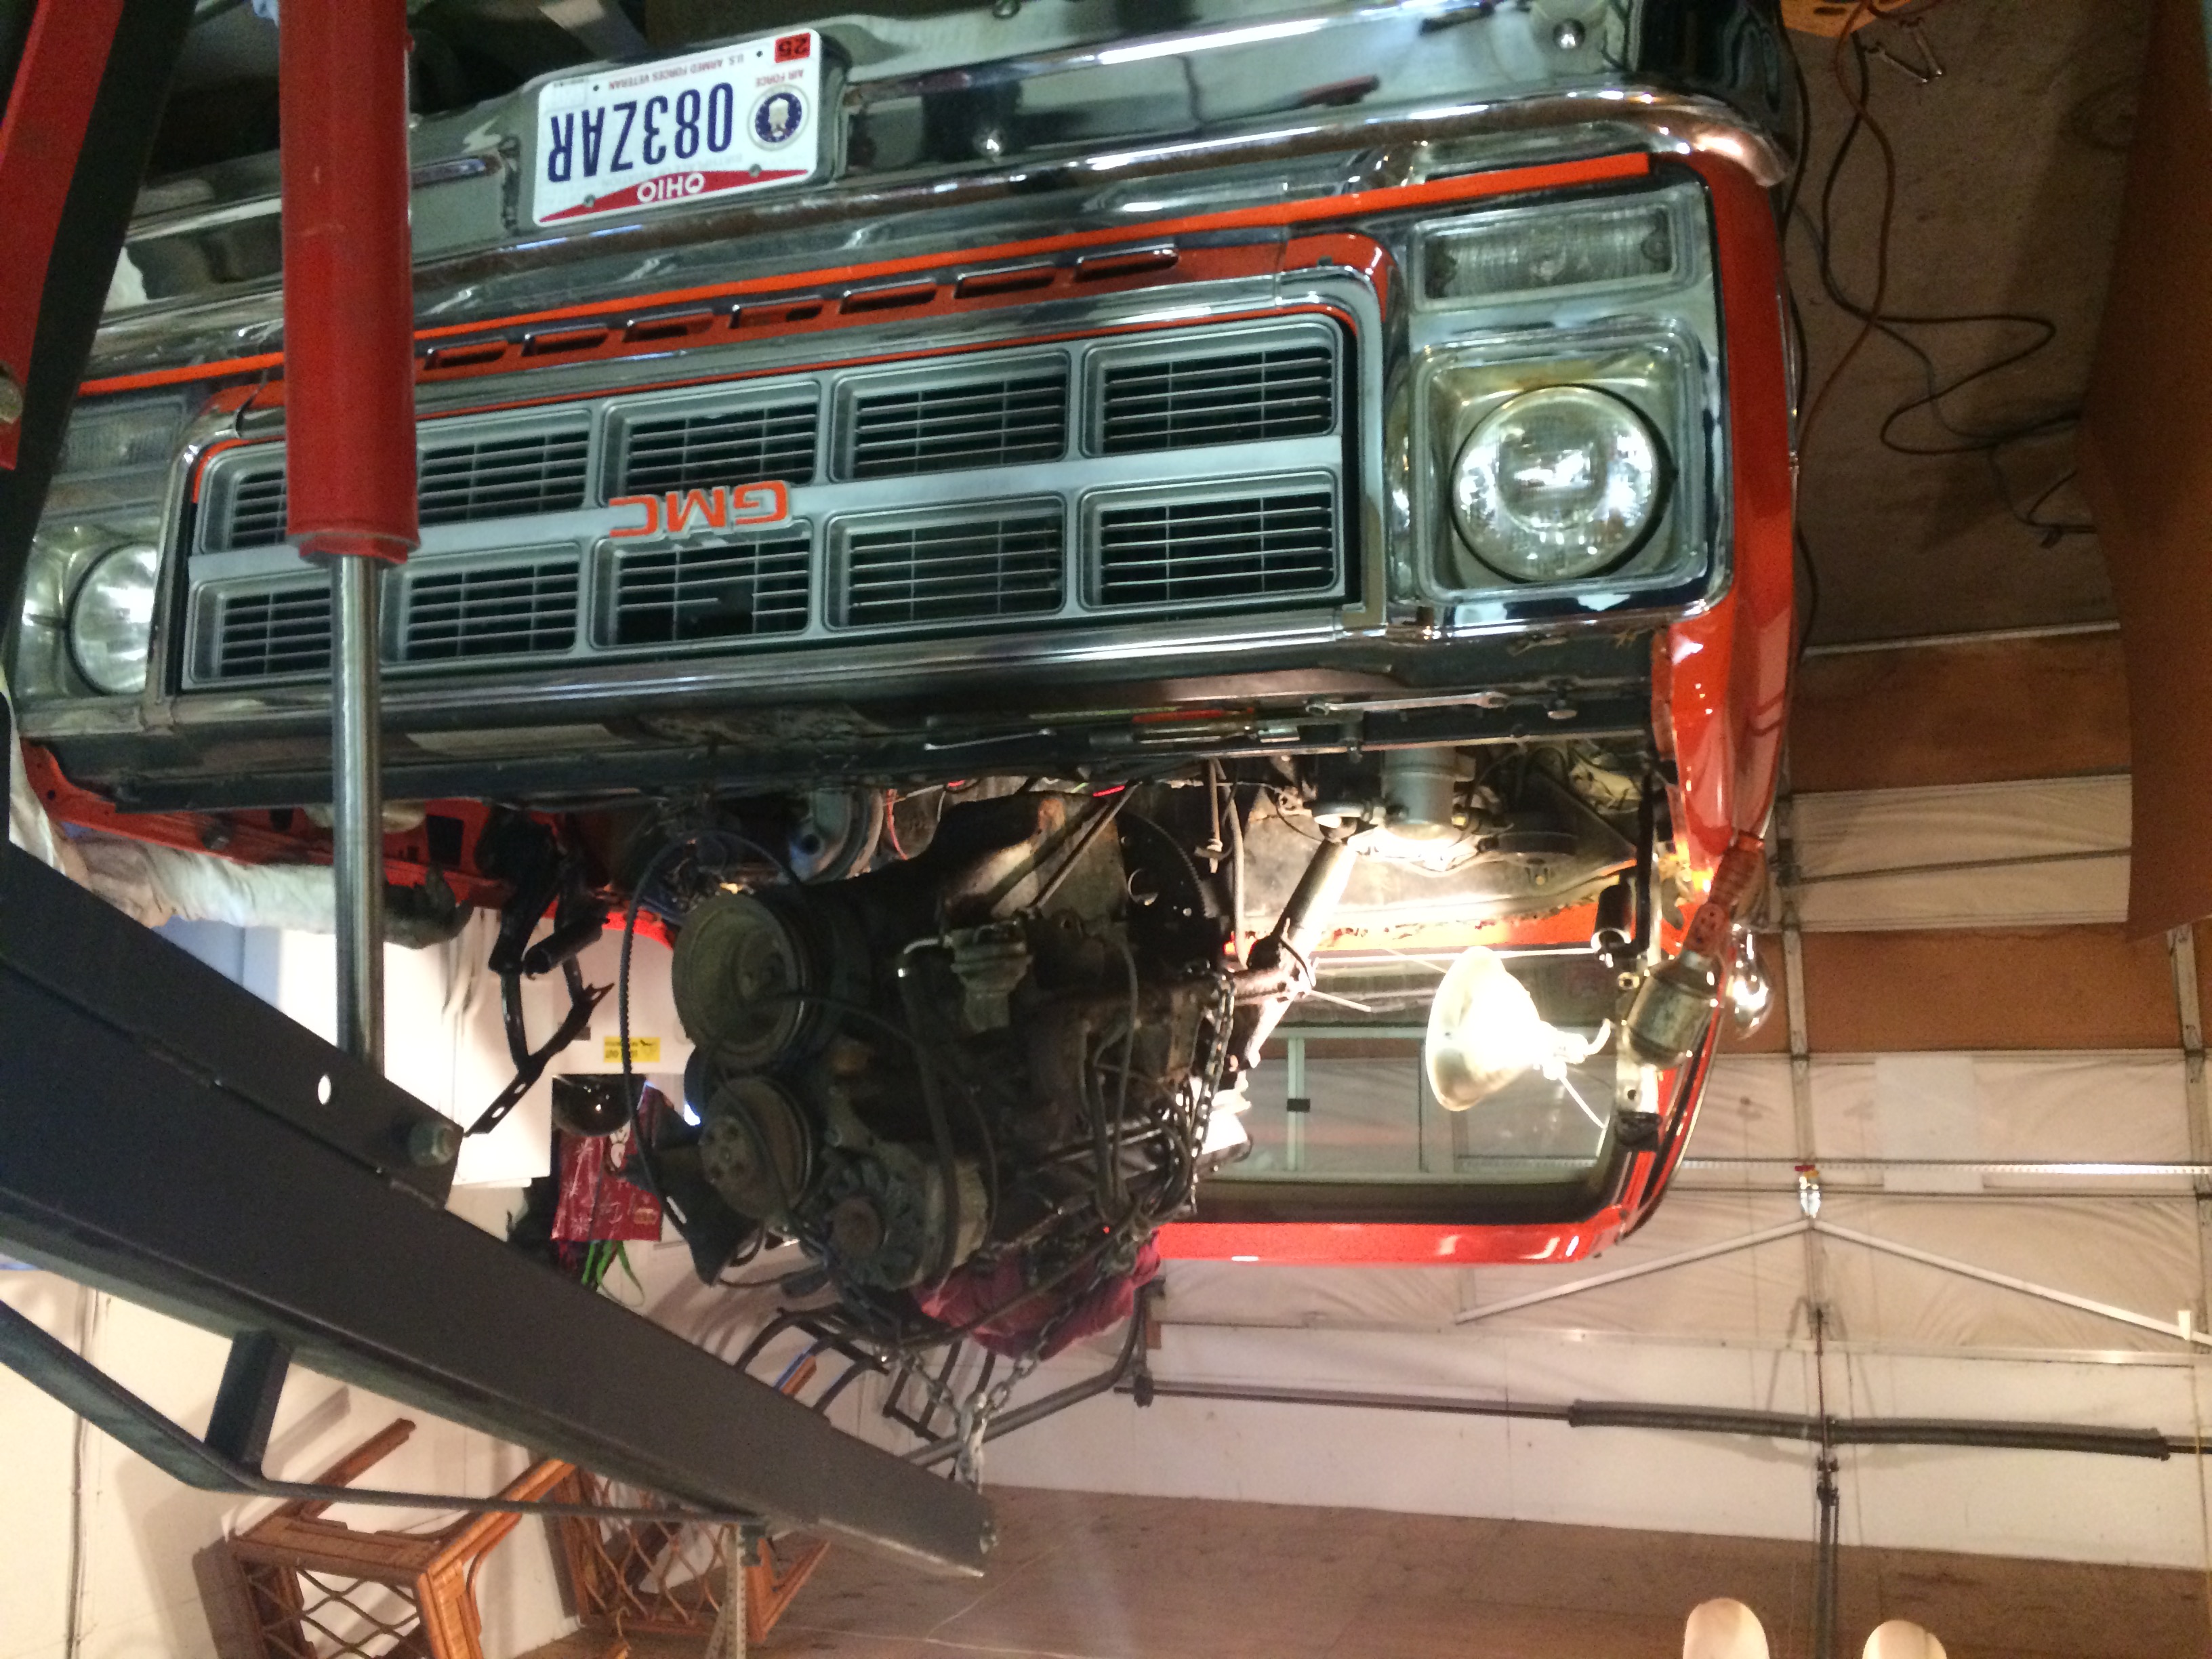
After the engine was prepped it was time to start swapping the engines. With an extra set of hands this should only take you a couple hours to pull the old engine, even if you’ve never done it before. After you get all the electrical and fuel unhooked, it’s really just some bellhousing bolts and engine mounts. Just make sure you take the time to label the wires you’re pulling off the sensors. These old truck develop a habit of having extra random wires in places.
Now that the engine is out, you’ll want to address adapting it to the transmission. With a budget build like this, involving further work with transmission swaps just increases the total bill. My old TH350 was in good shape and shifted solidly and firmly. I had no worries about a mild LM7 being installed in front of it, especially since I wasn’t doing anything with the torque converter. The only thing that I was concerned about with this adapting the flexplate to the converter. There are two options depending on whether or not you have a dished flexplate or a flat flexplate. My engine has a dished flexplate so I just needed the Converter Snout Adapter. Other applications with the flat flexplate need the Crankshaft Spacer. Those of you with a 99-00 6.0 need nothing.
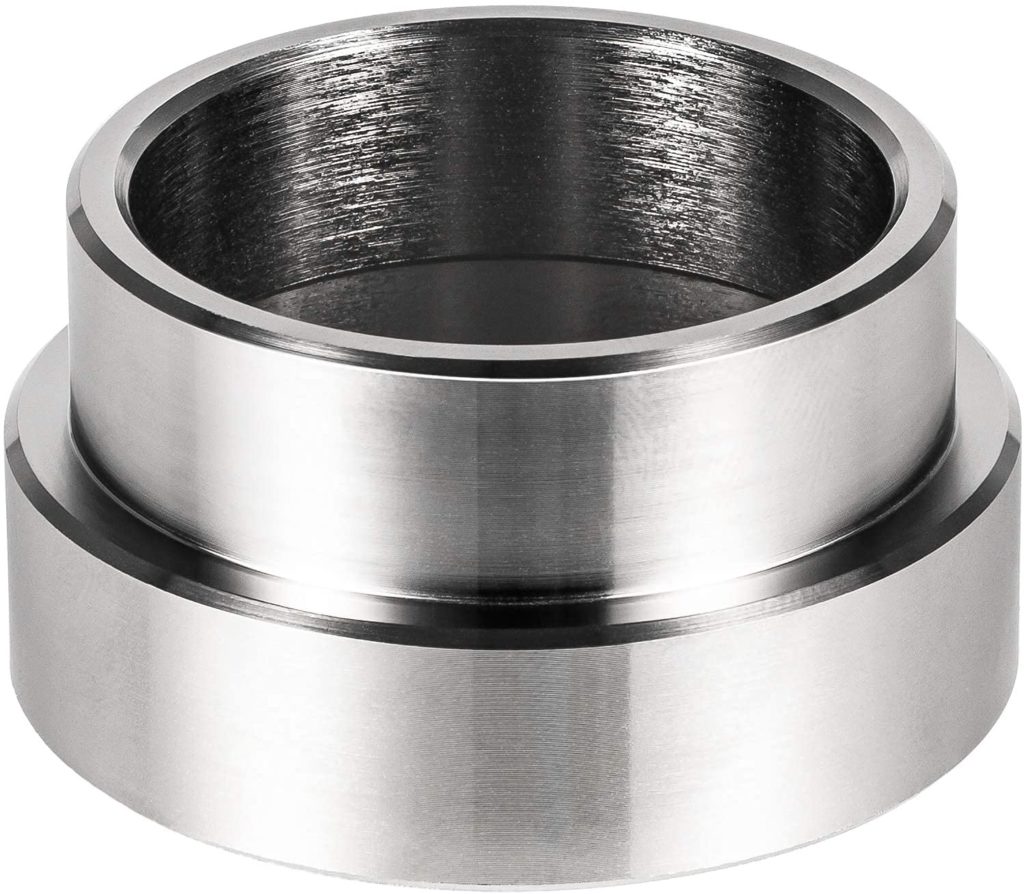
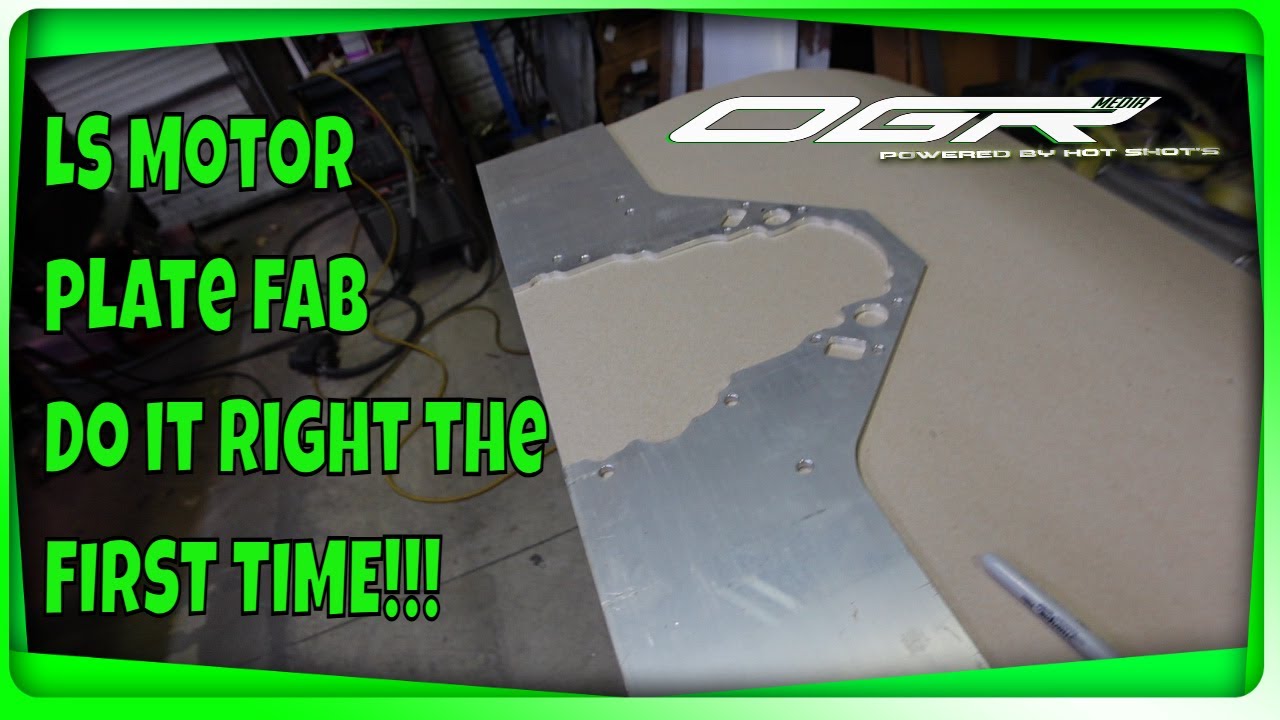
Now that we’ve got the transmission figured out, it’s time to move onto how to get the engine bolted in. You’re probably going to find that normal plates wont work. They wouldn’t for me, so I’ve got a random set of plates floating around the garage. I ended up using the Dirty Dingo Adjustable Mounts for mine & they even worked with the factory oil truck style oil pan. The clearances for this are pretty close, so if you’ve got degraded frame pads you might run into problems. I would suggest at least looking at them to save yourself a headache later.
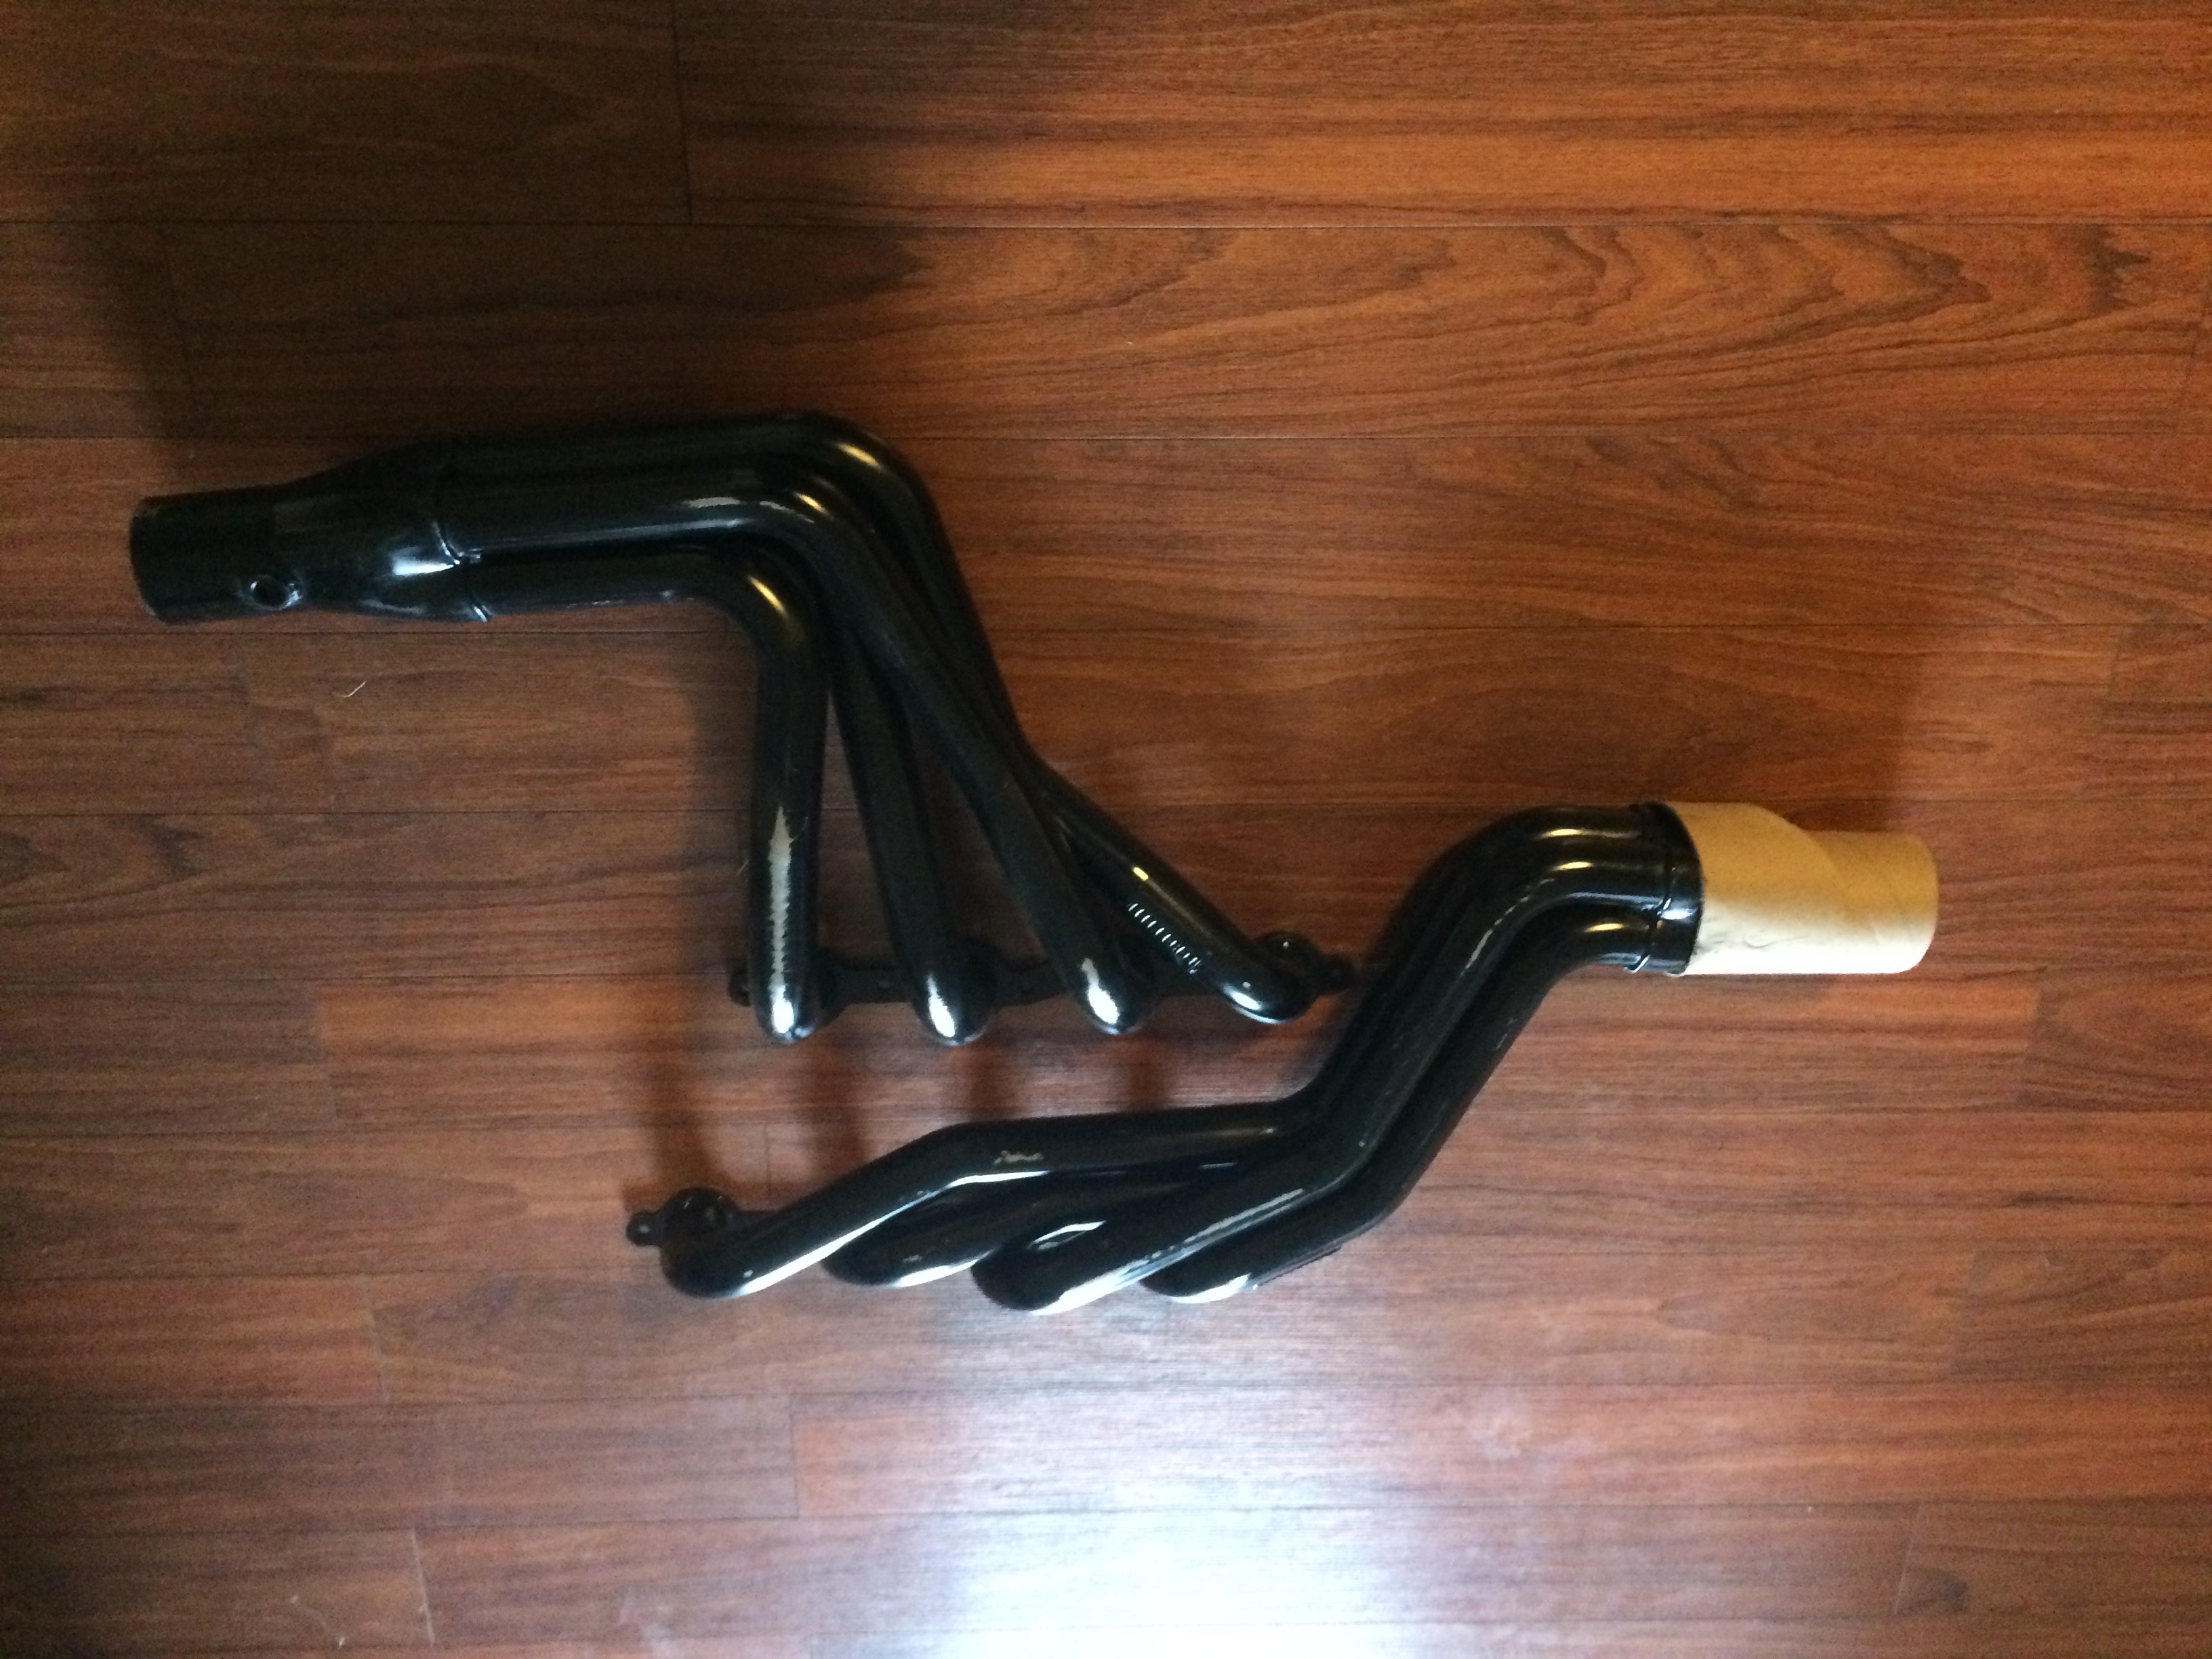
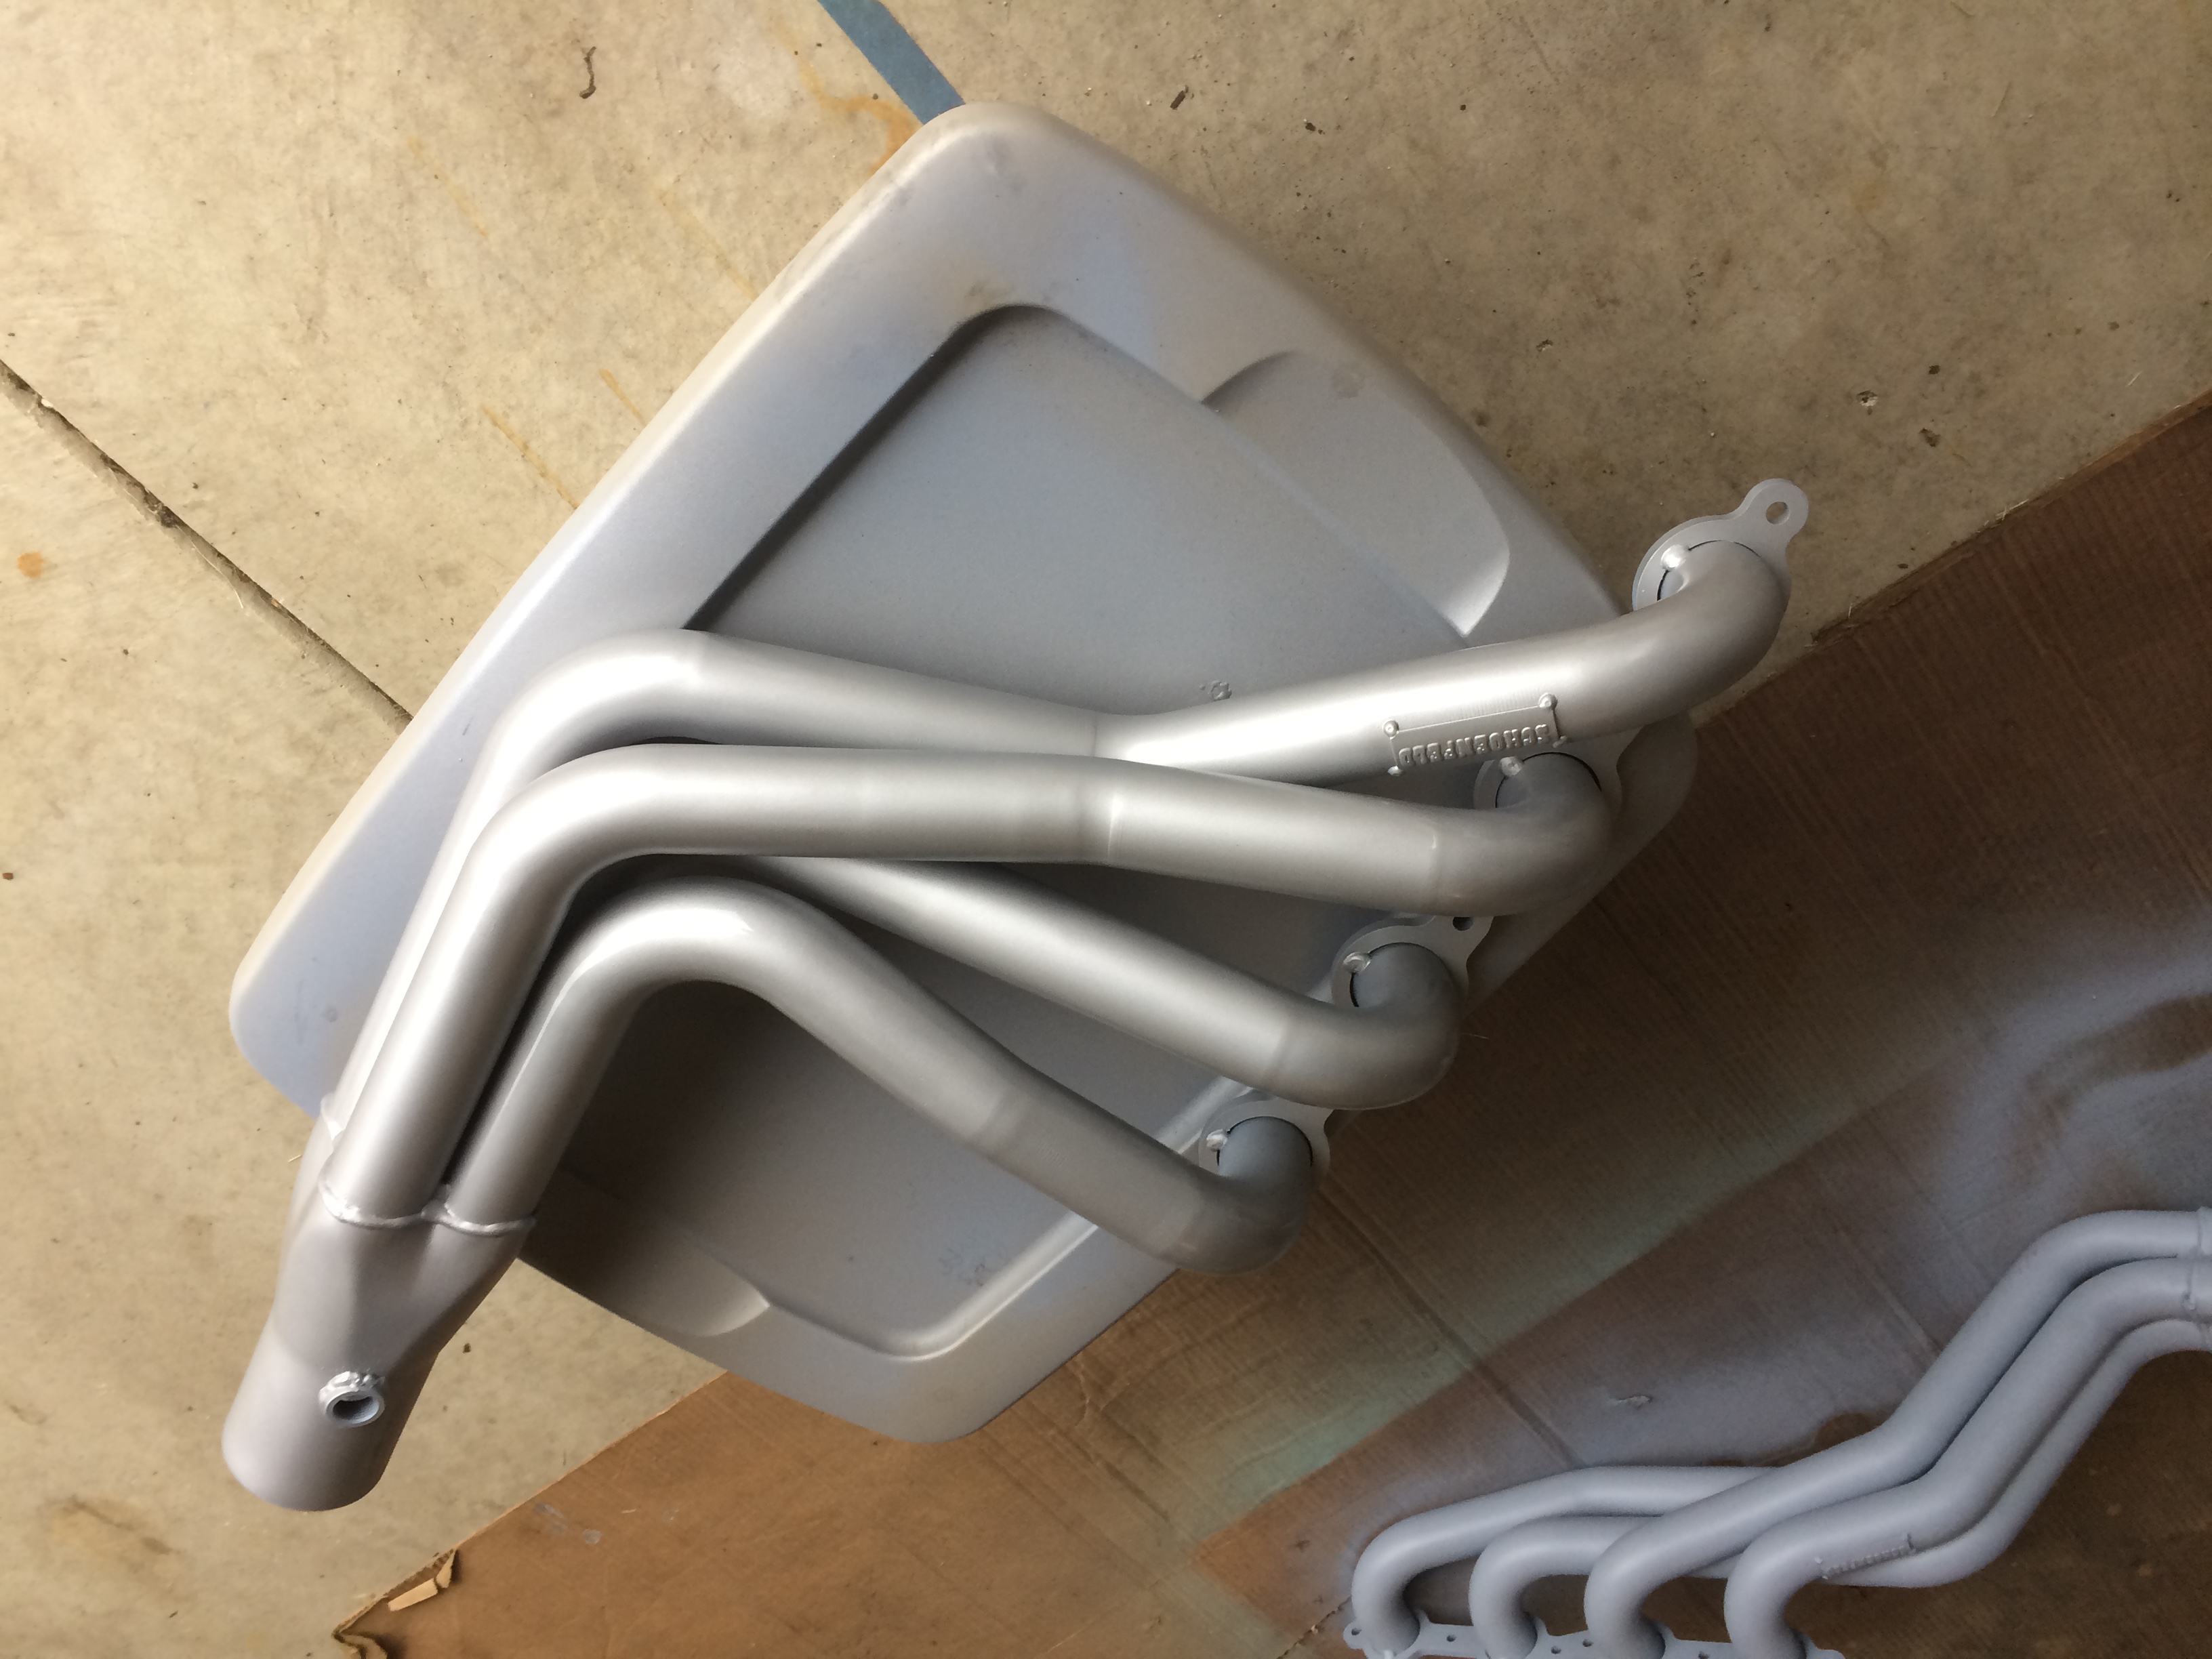
After we got the LS engine nested in between the frame and loosely bolted up it was time to address the header situation. Not many options for this. I’ve seen a lot of guys modifying other products, but the SCHOENFELD Truck Headers were what I went with and they fit. Just make sure you don’t just go dropping them in without putting some real paint on them, or getting them coated somewhere. The black paint they ship with isn’t meant to stay, it’s just for shipping and rust protection.
I ended up painting mine with VHT Flameproof Coating. It won’t last forever, but when I finally sold the truck a few years later they still looked passable. One way you might keep the overall look better is getting a header wrap or something. One thing to note since this picture is showing it, if you’re using a carb and have a column shift, you will want to get some low profile (allen key) O2 sensor plugs. Your linkage should just clear, but you might have to do some minor bending of the linkage if it’s still too close.
After the headers were installed it was time to start addressing getting the wiring, and general maintenance items it’s always best to start fresh with. As well as the fueling situation since the LS engines don’t have a provision for mechanical fuel pumps. I went with a Holley Red fuel pump installed back near the tank (push, don’t pull). I also installed new plugs, plug wires, and Thermal Boots.
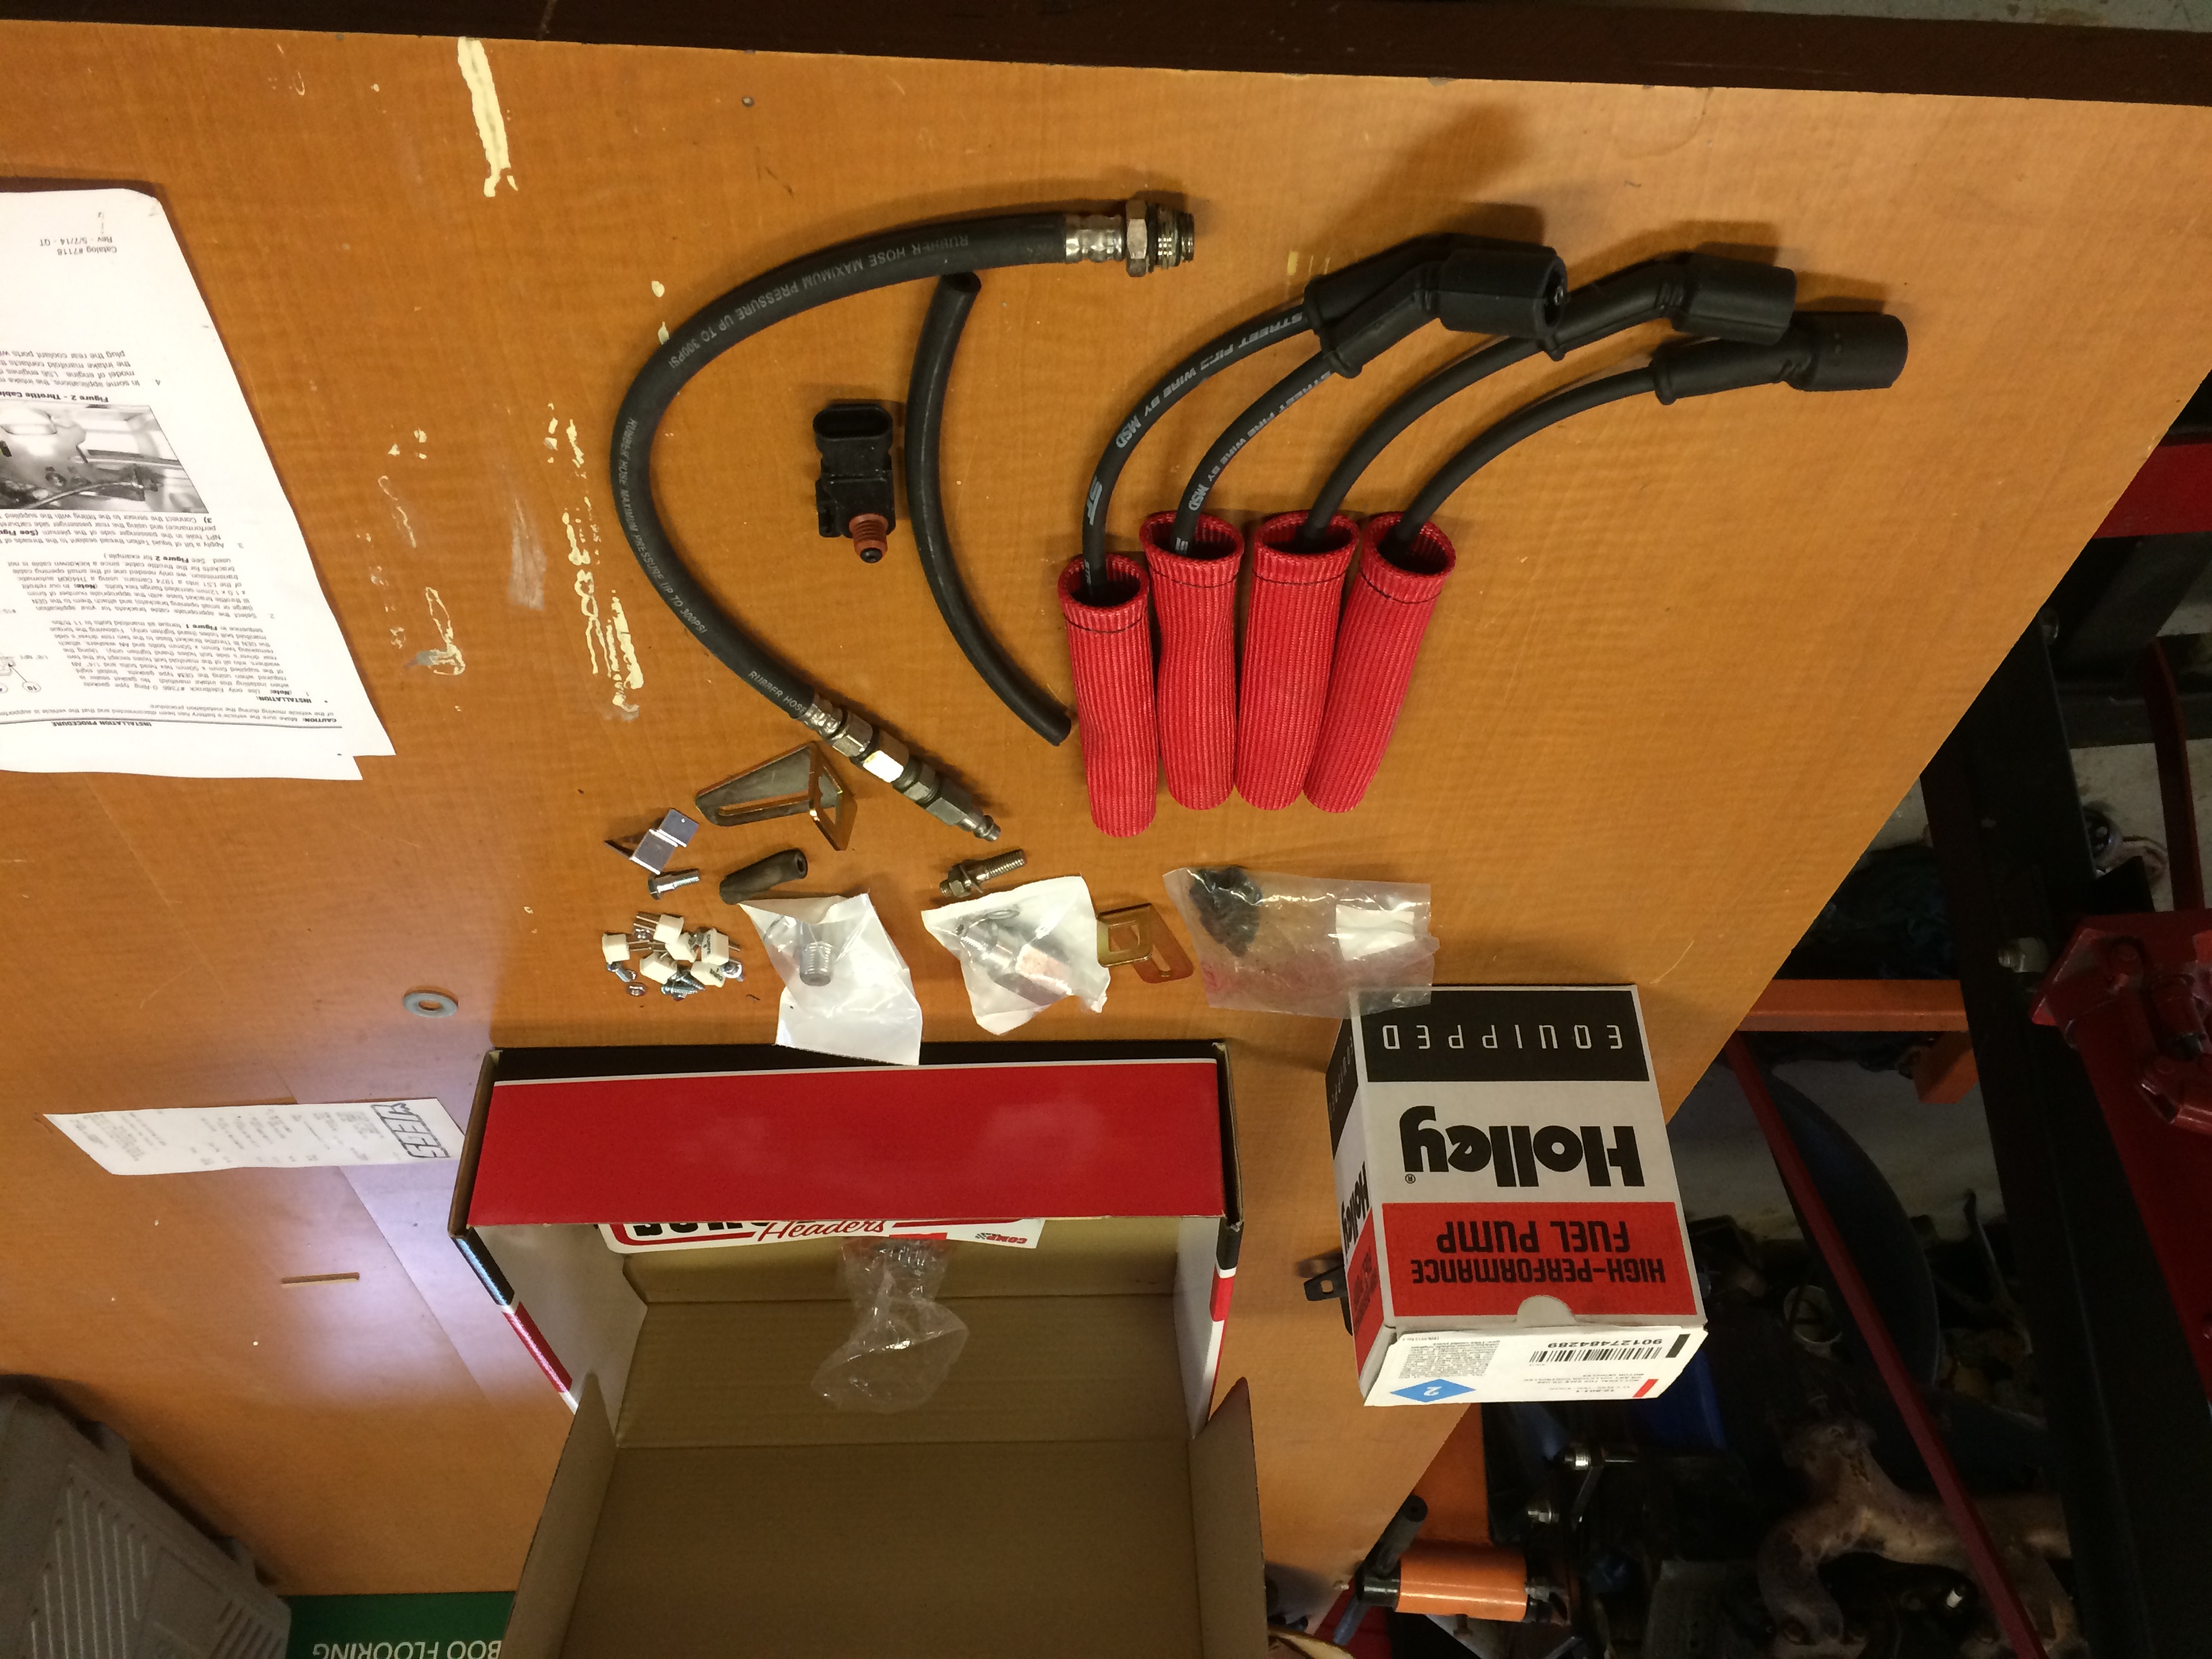
My engine was mostly complete, but I was missing some of the electrical components like the starter and alternator. I will pay a little bit more for perceived quality sometimes so I went with an ACDelco Starter and ACDelco Alternator. I believe I linked both Reman parts, I went with new, but the choice is yours.
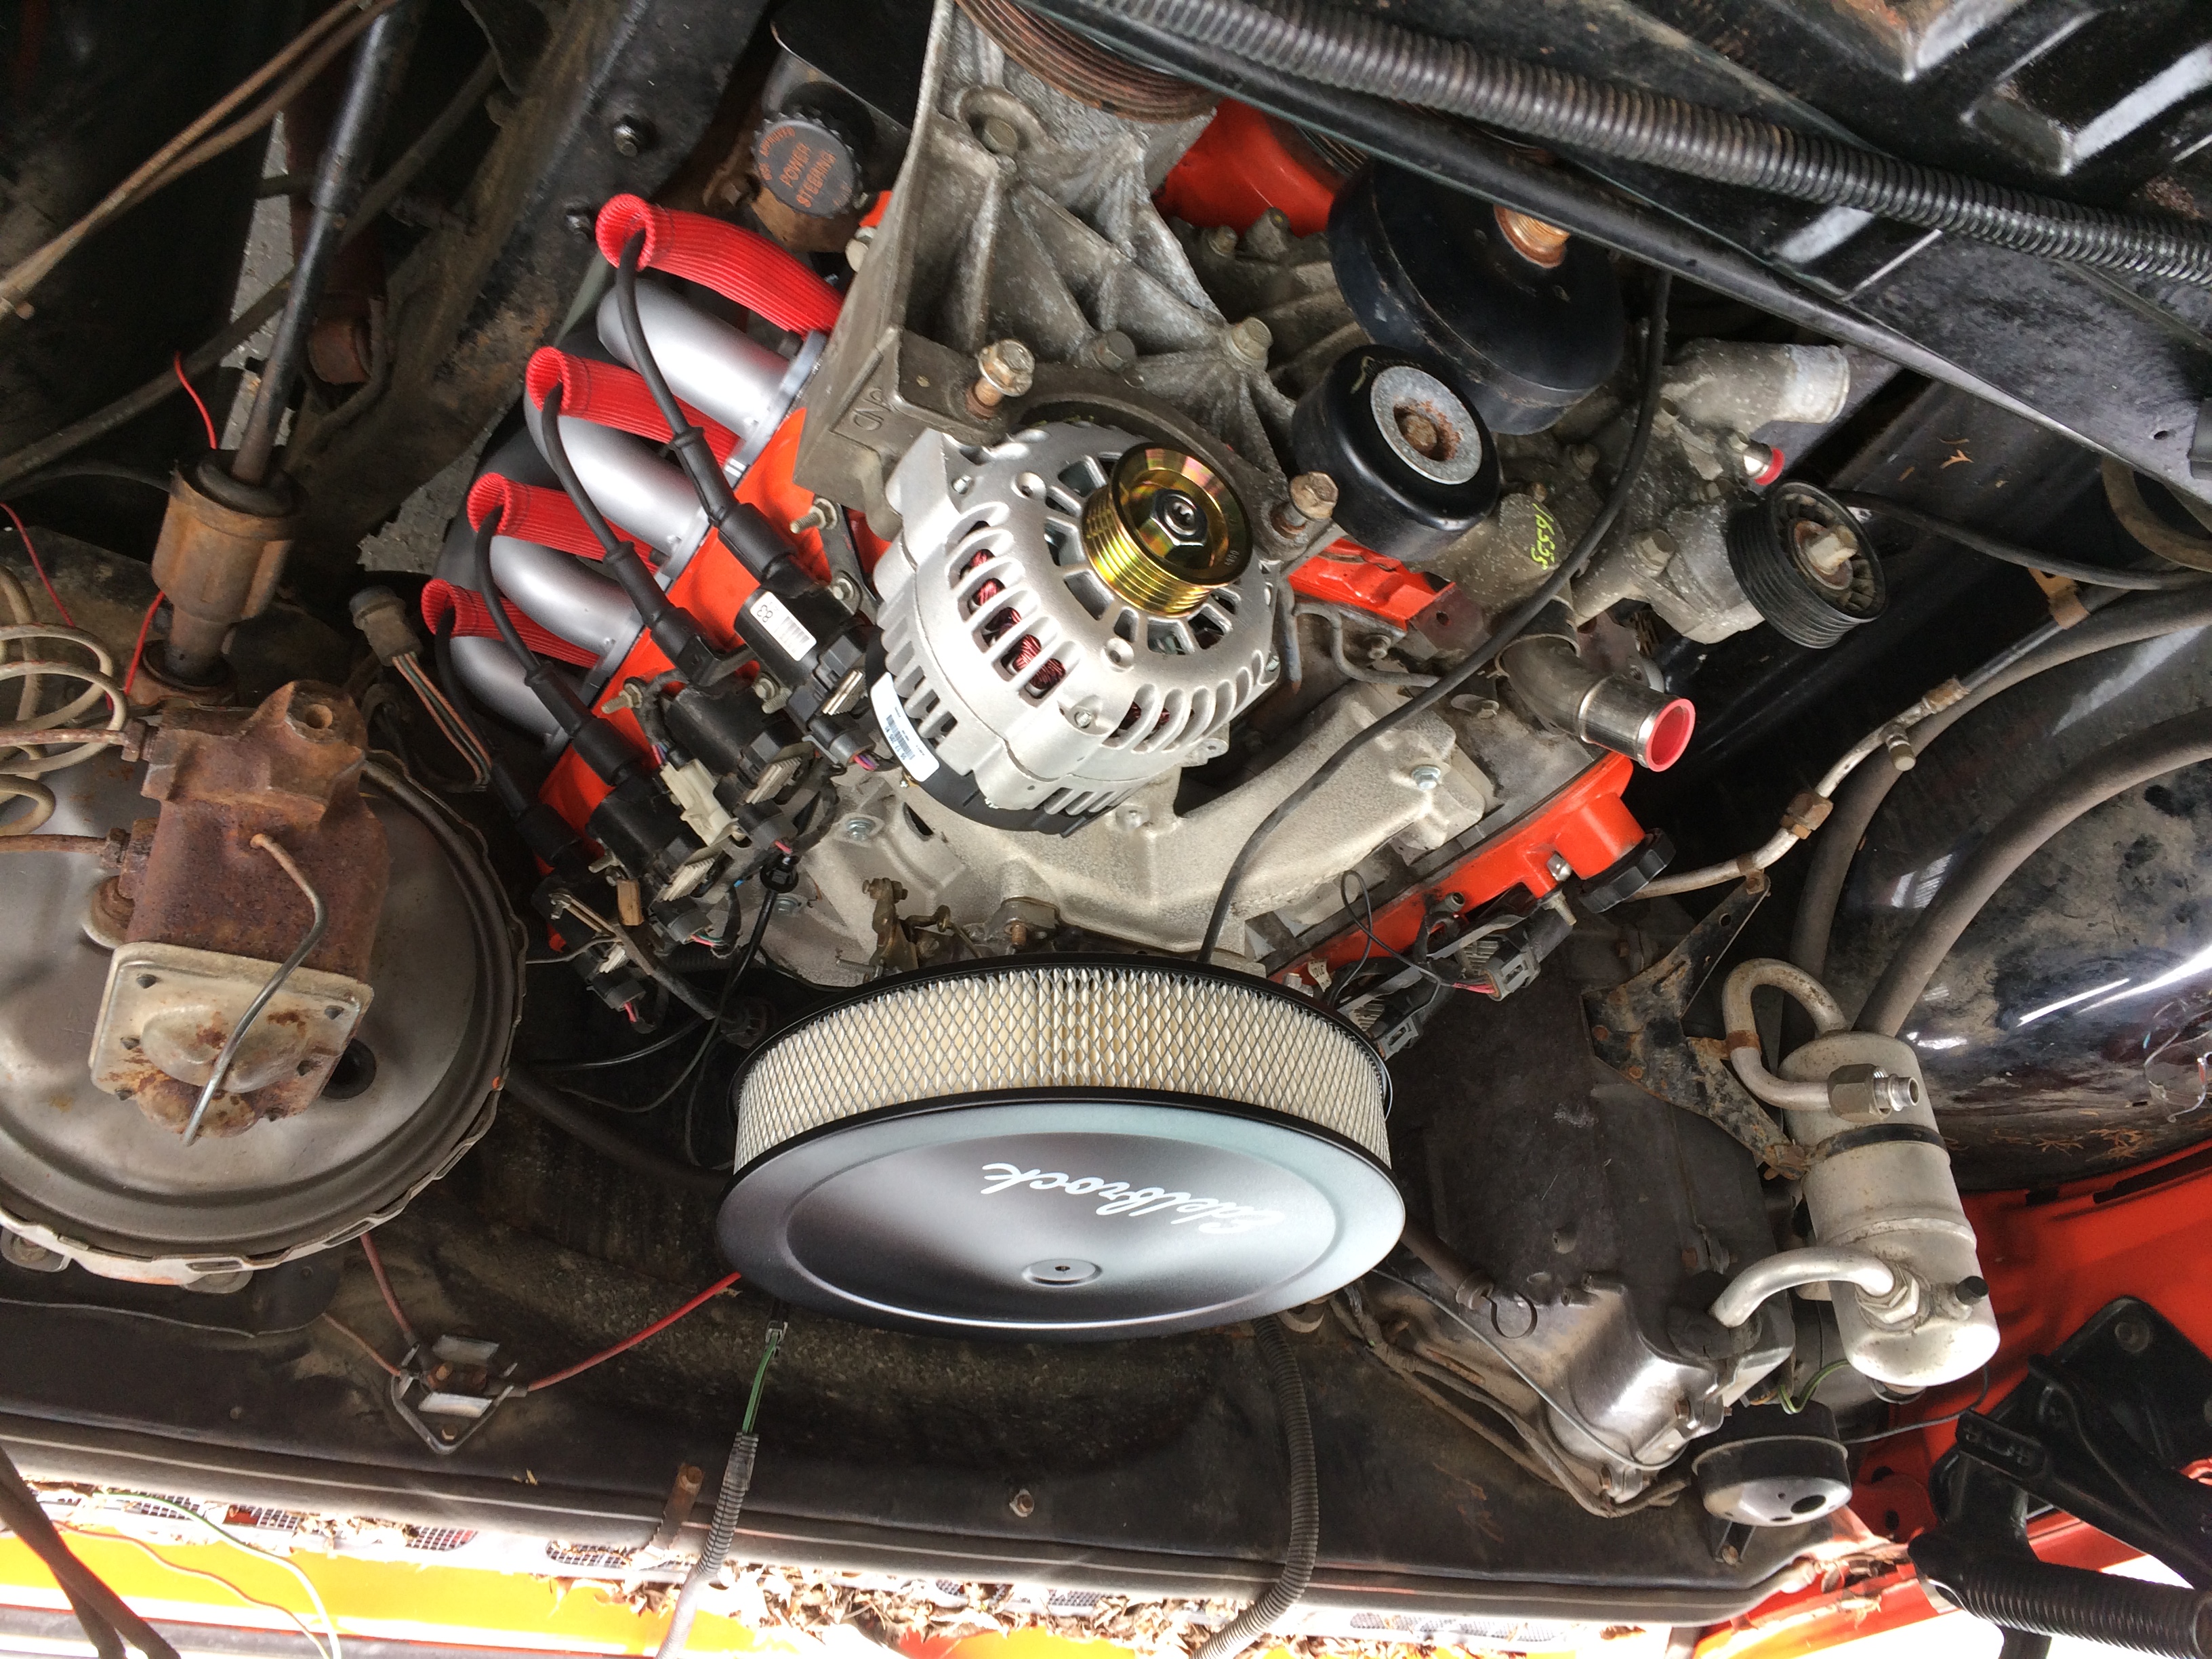
Buttoning up the rest of the engine was really easy. It was mostly just a mix of parts you can pick up at any auto parts store, and most of the time it was in stock. If you got the factory power steering pump with your truck based LS block, you’ll just need to change the adapter nut from an old SAE pump to the new metric pump, then new factory spec power steering lines can be put in.
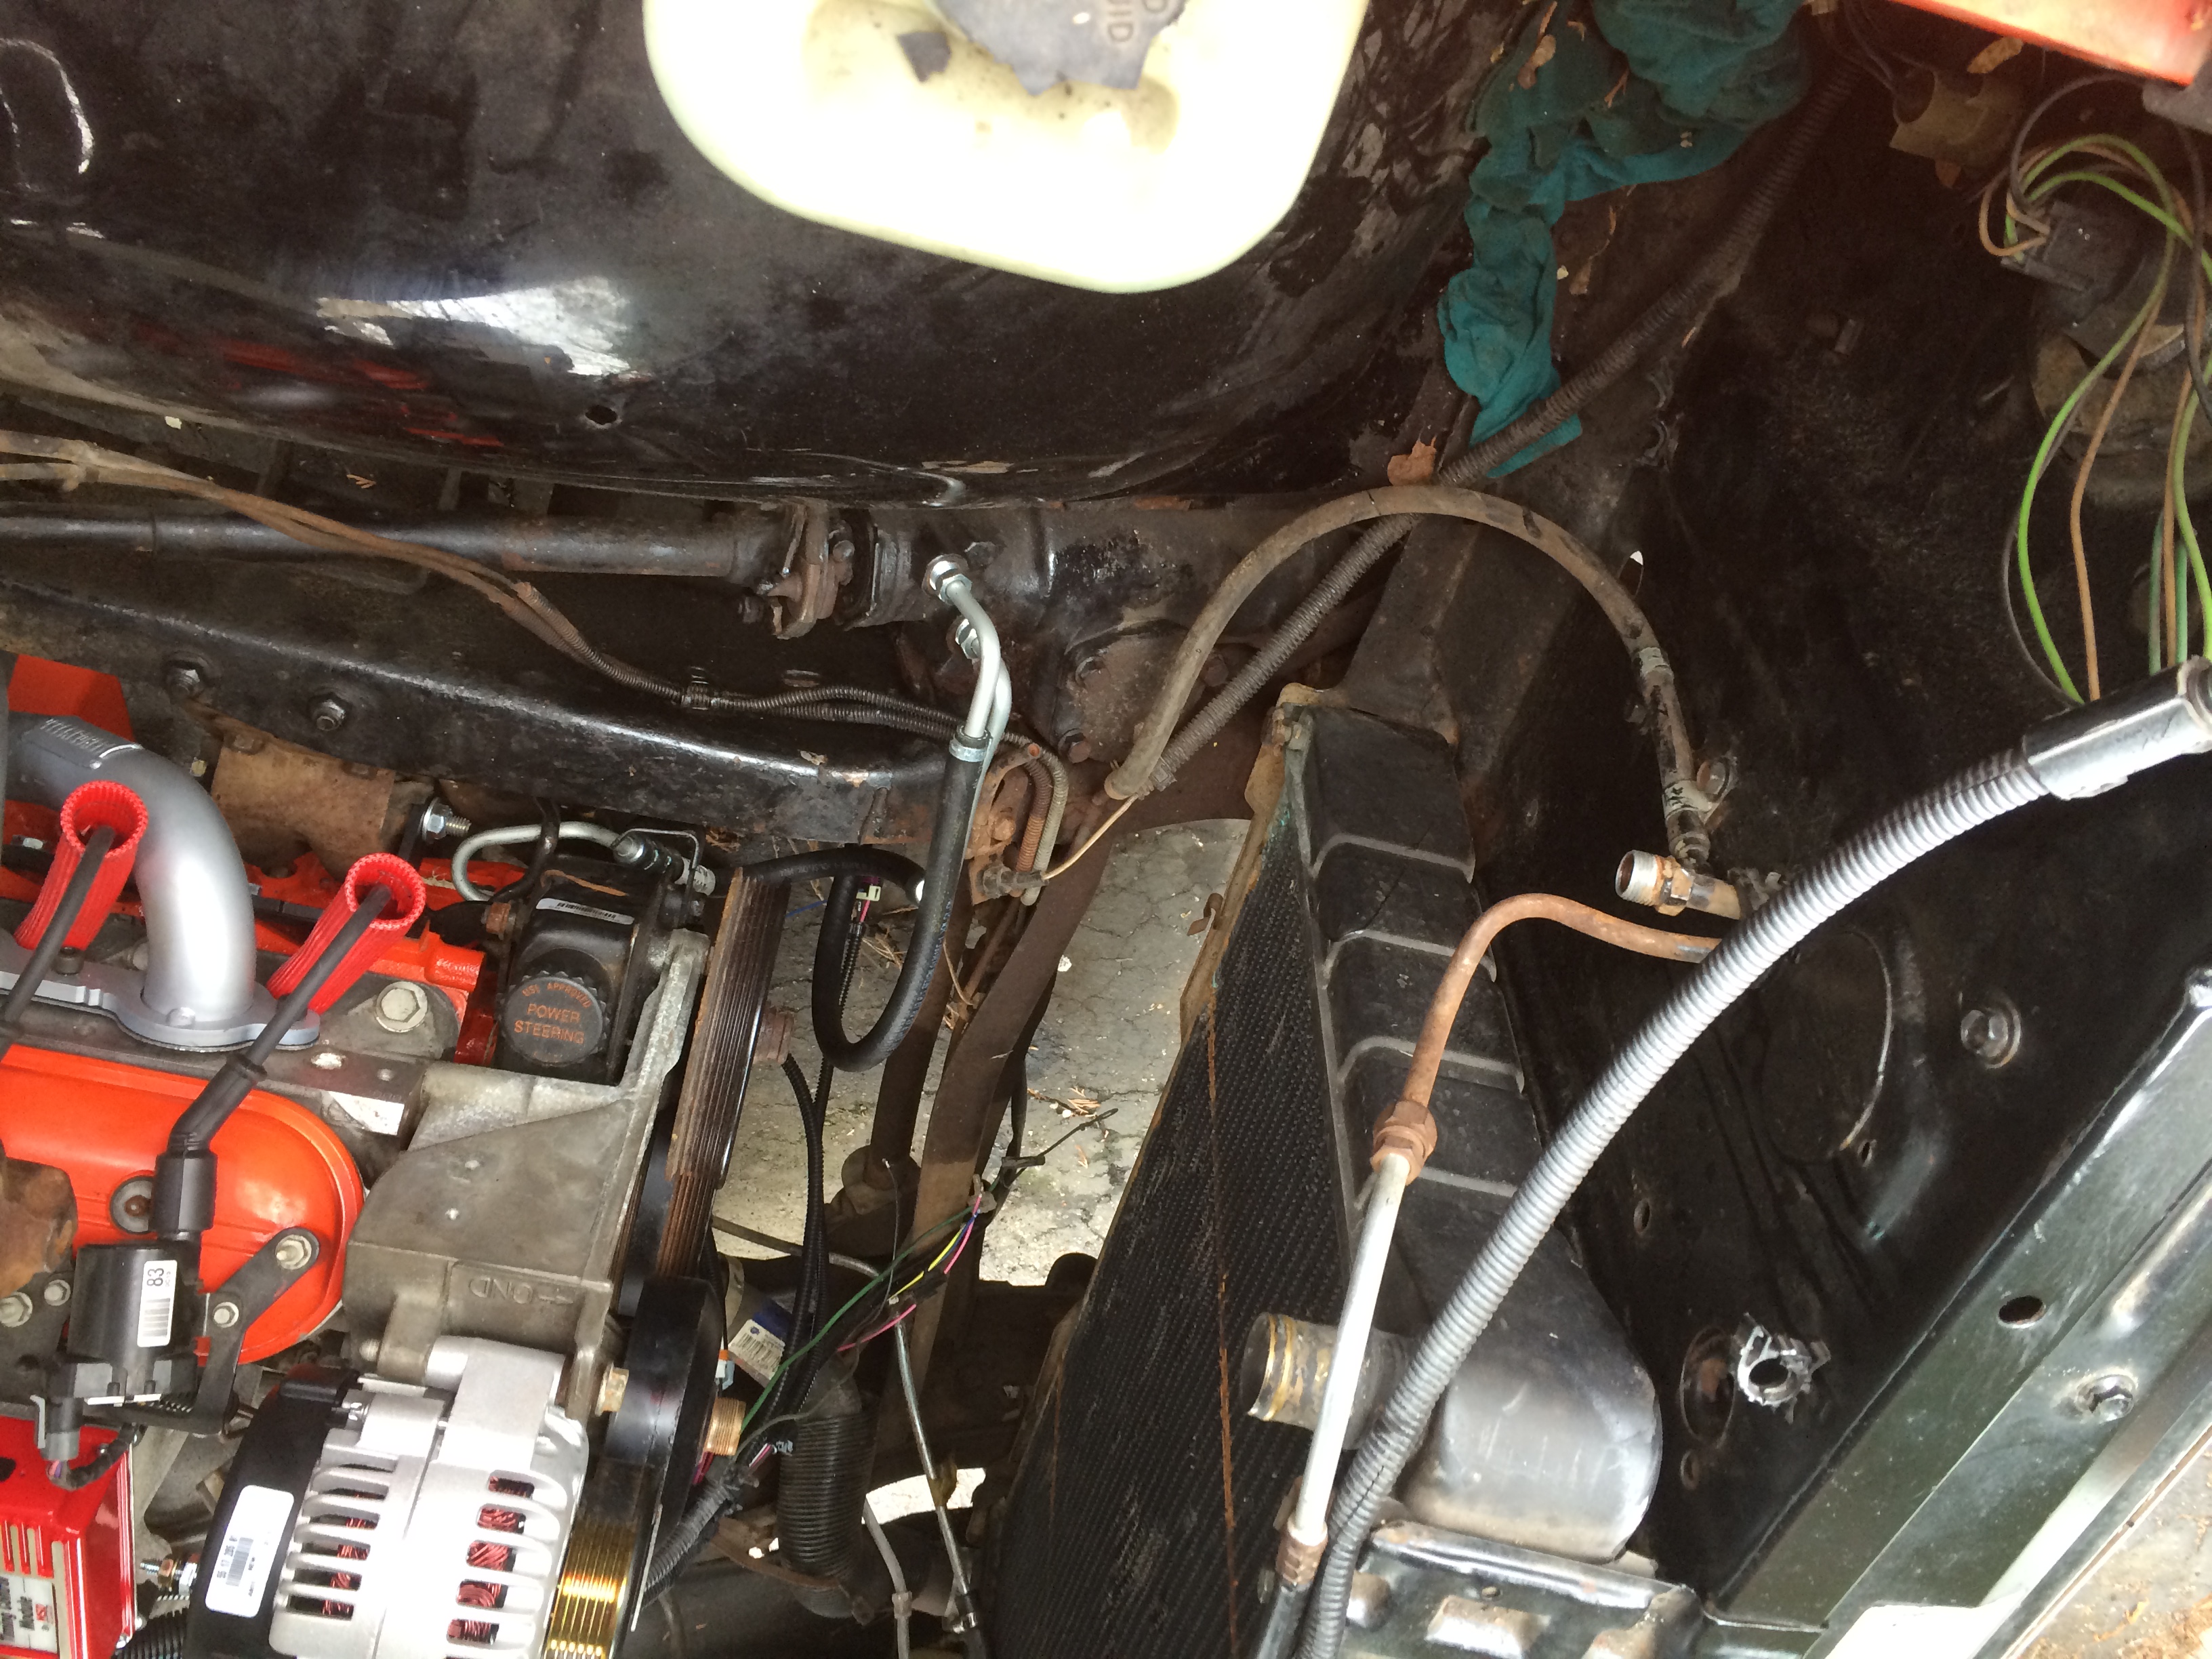
If you ended up getting the clutch fan with your LS engine you can also reuse the square body factory shroud as well, saving yourself money on going with electric fans. I also believe the coolant lines were ordered as a 2001 Chevy Silverado 1500 as well.
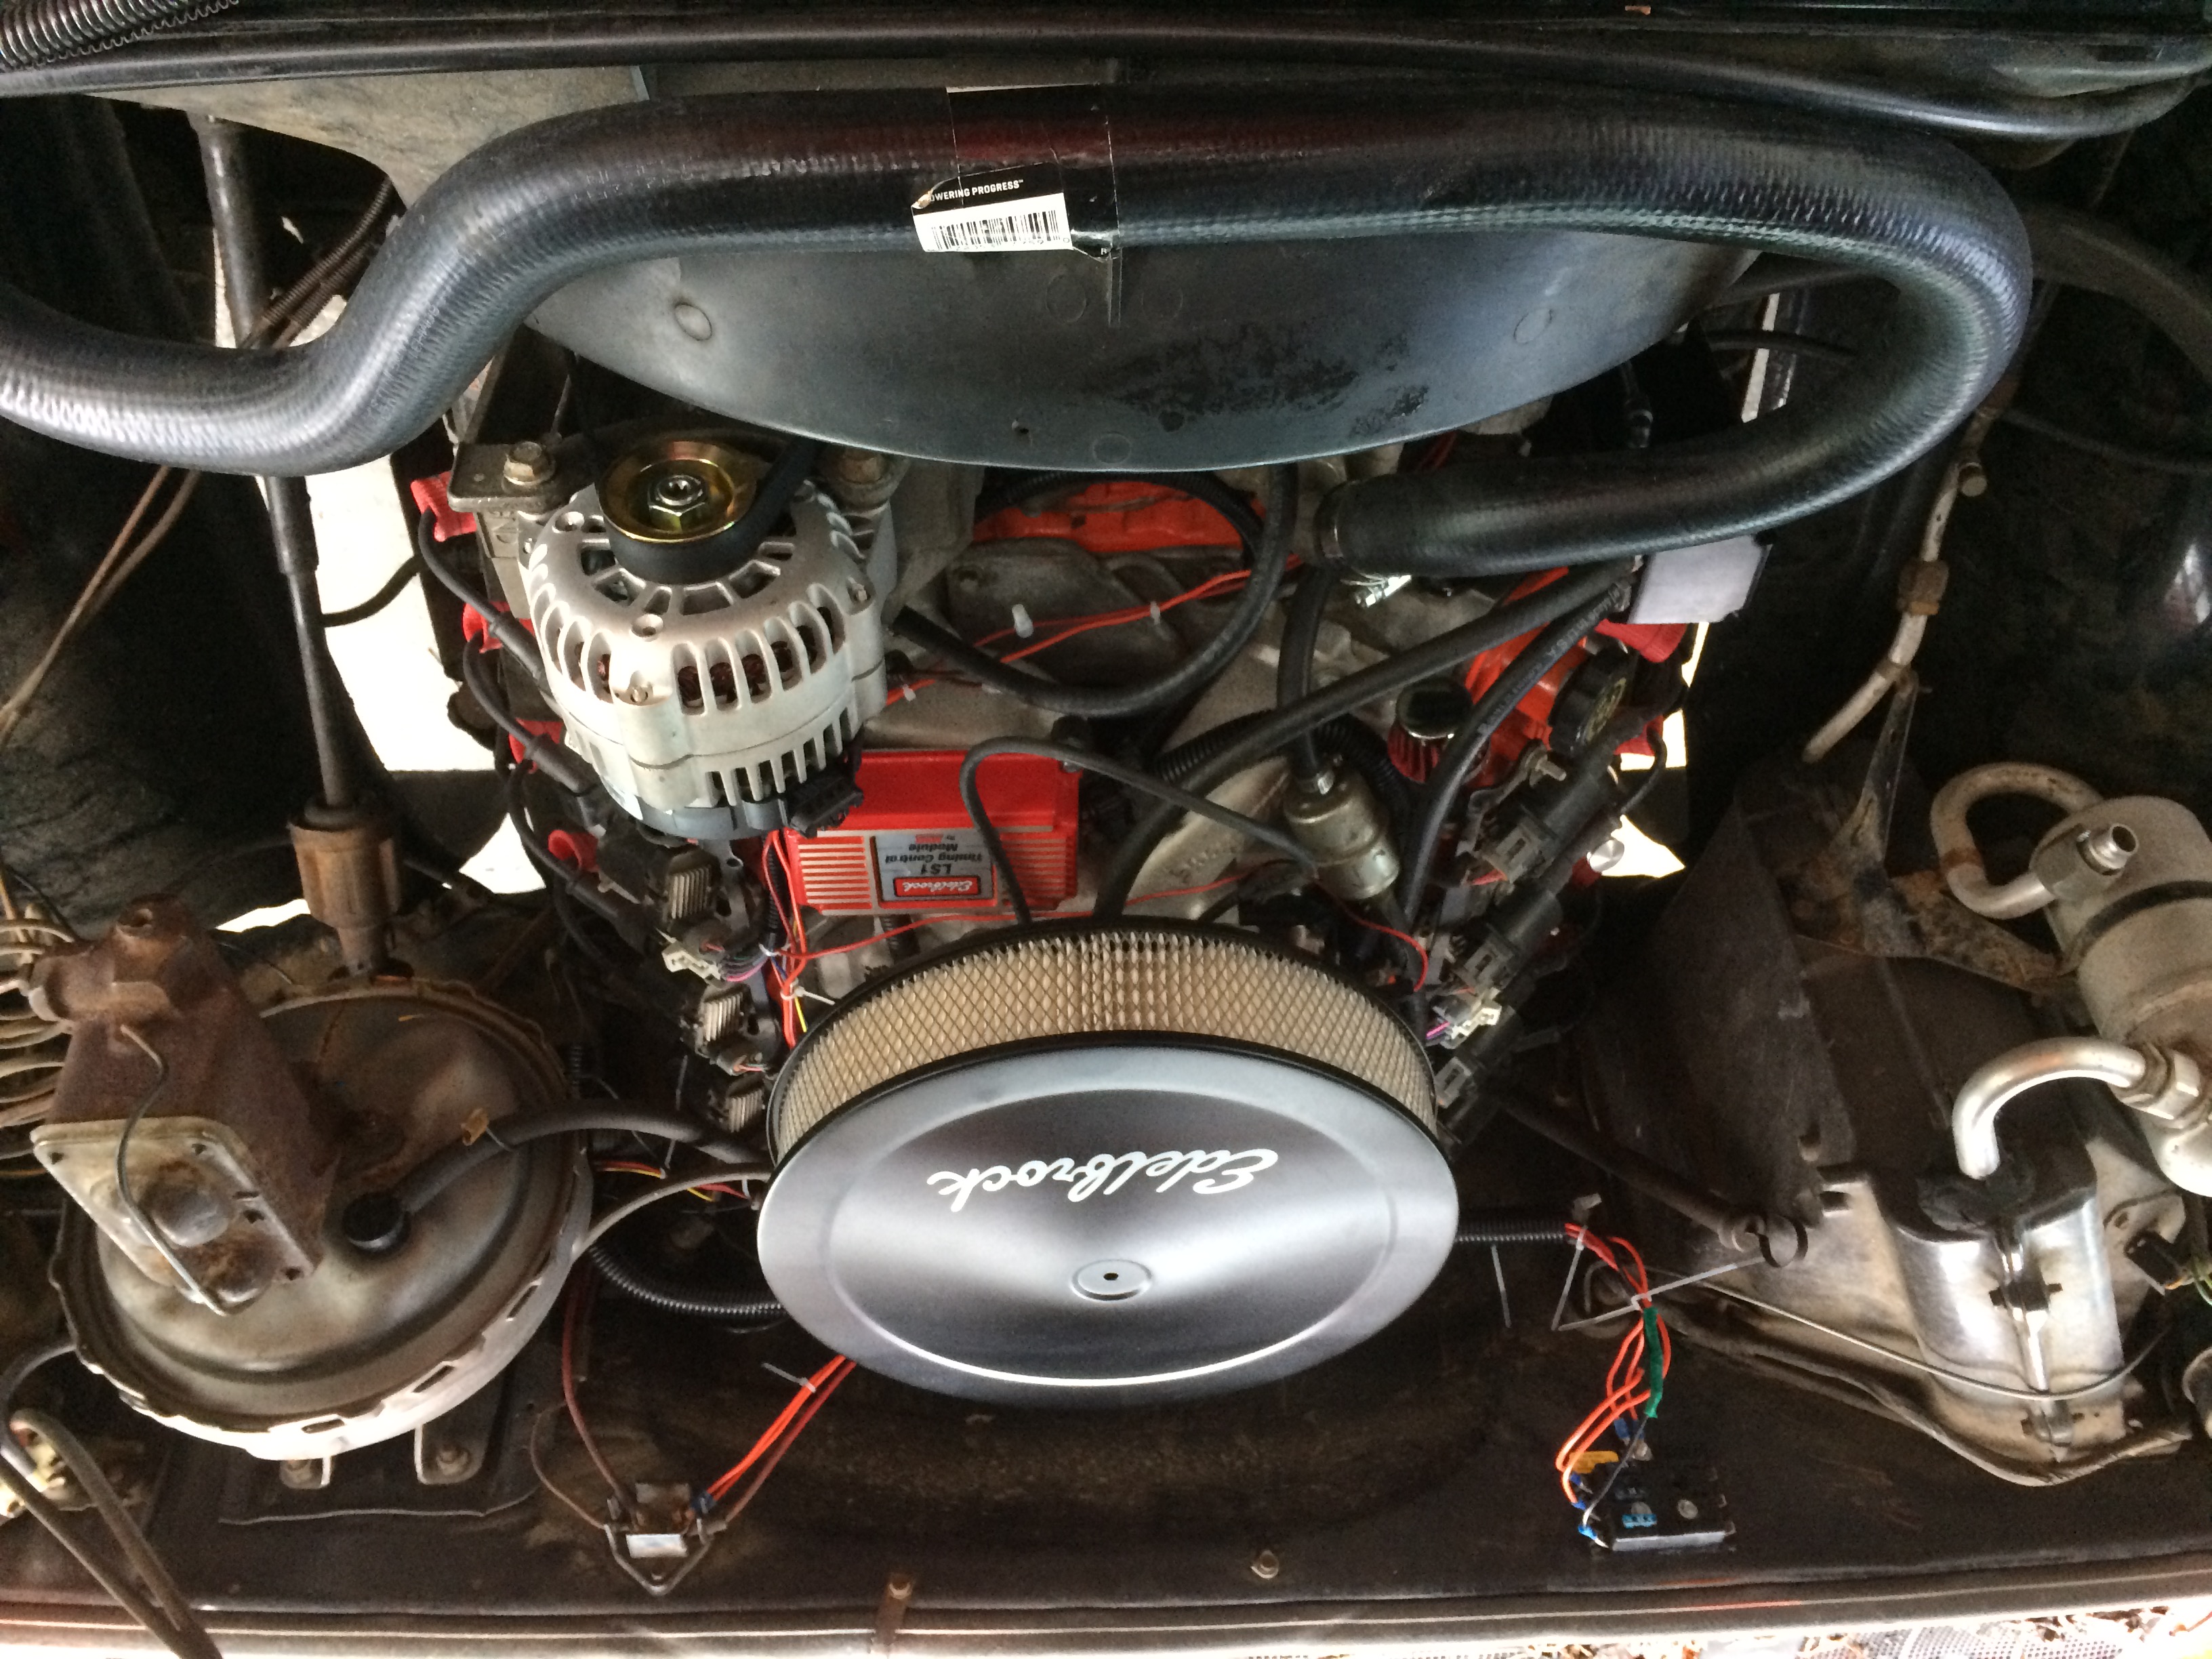
The last point worth noting in the engine compartment is the PCV system, and installing an oil catch can. I went with the Speed Engineering Oil Catch Can. It’s got a mount that bolts right into the head. The only other thing is a breather for the passenger side valve cover. I had one on hand, you might too.
After the engine was all buttoned up and ready to run I started installing a true dual 2.5″ exhaust system in the truck. It was pretty simple overall, and once you get it all hung up you can send it out to get welded. I started off with a set of Flowmaster 60 Series Offset in Center Out mufflers, and a generic 2.5″ over axle set of exhaust pipes.
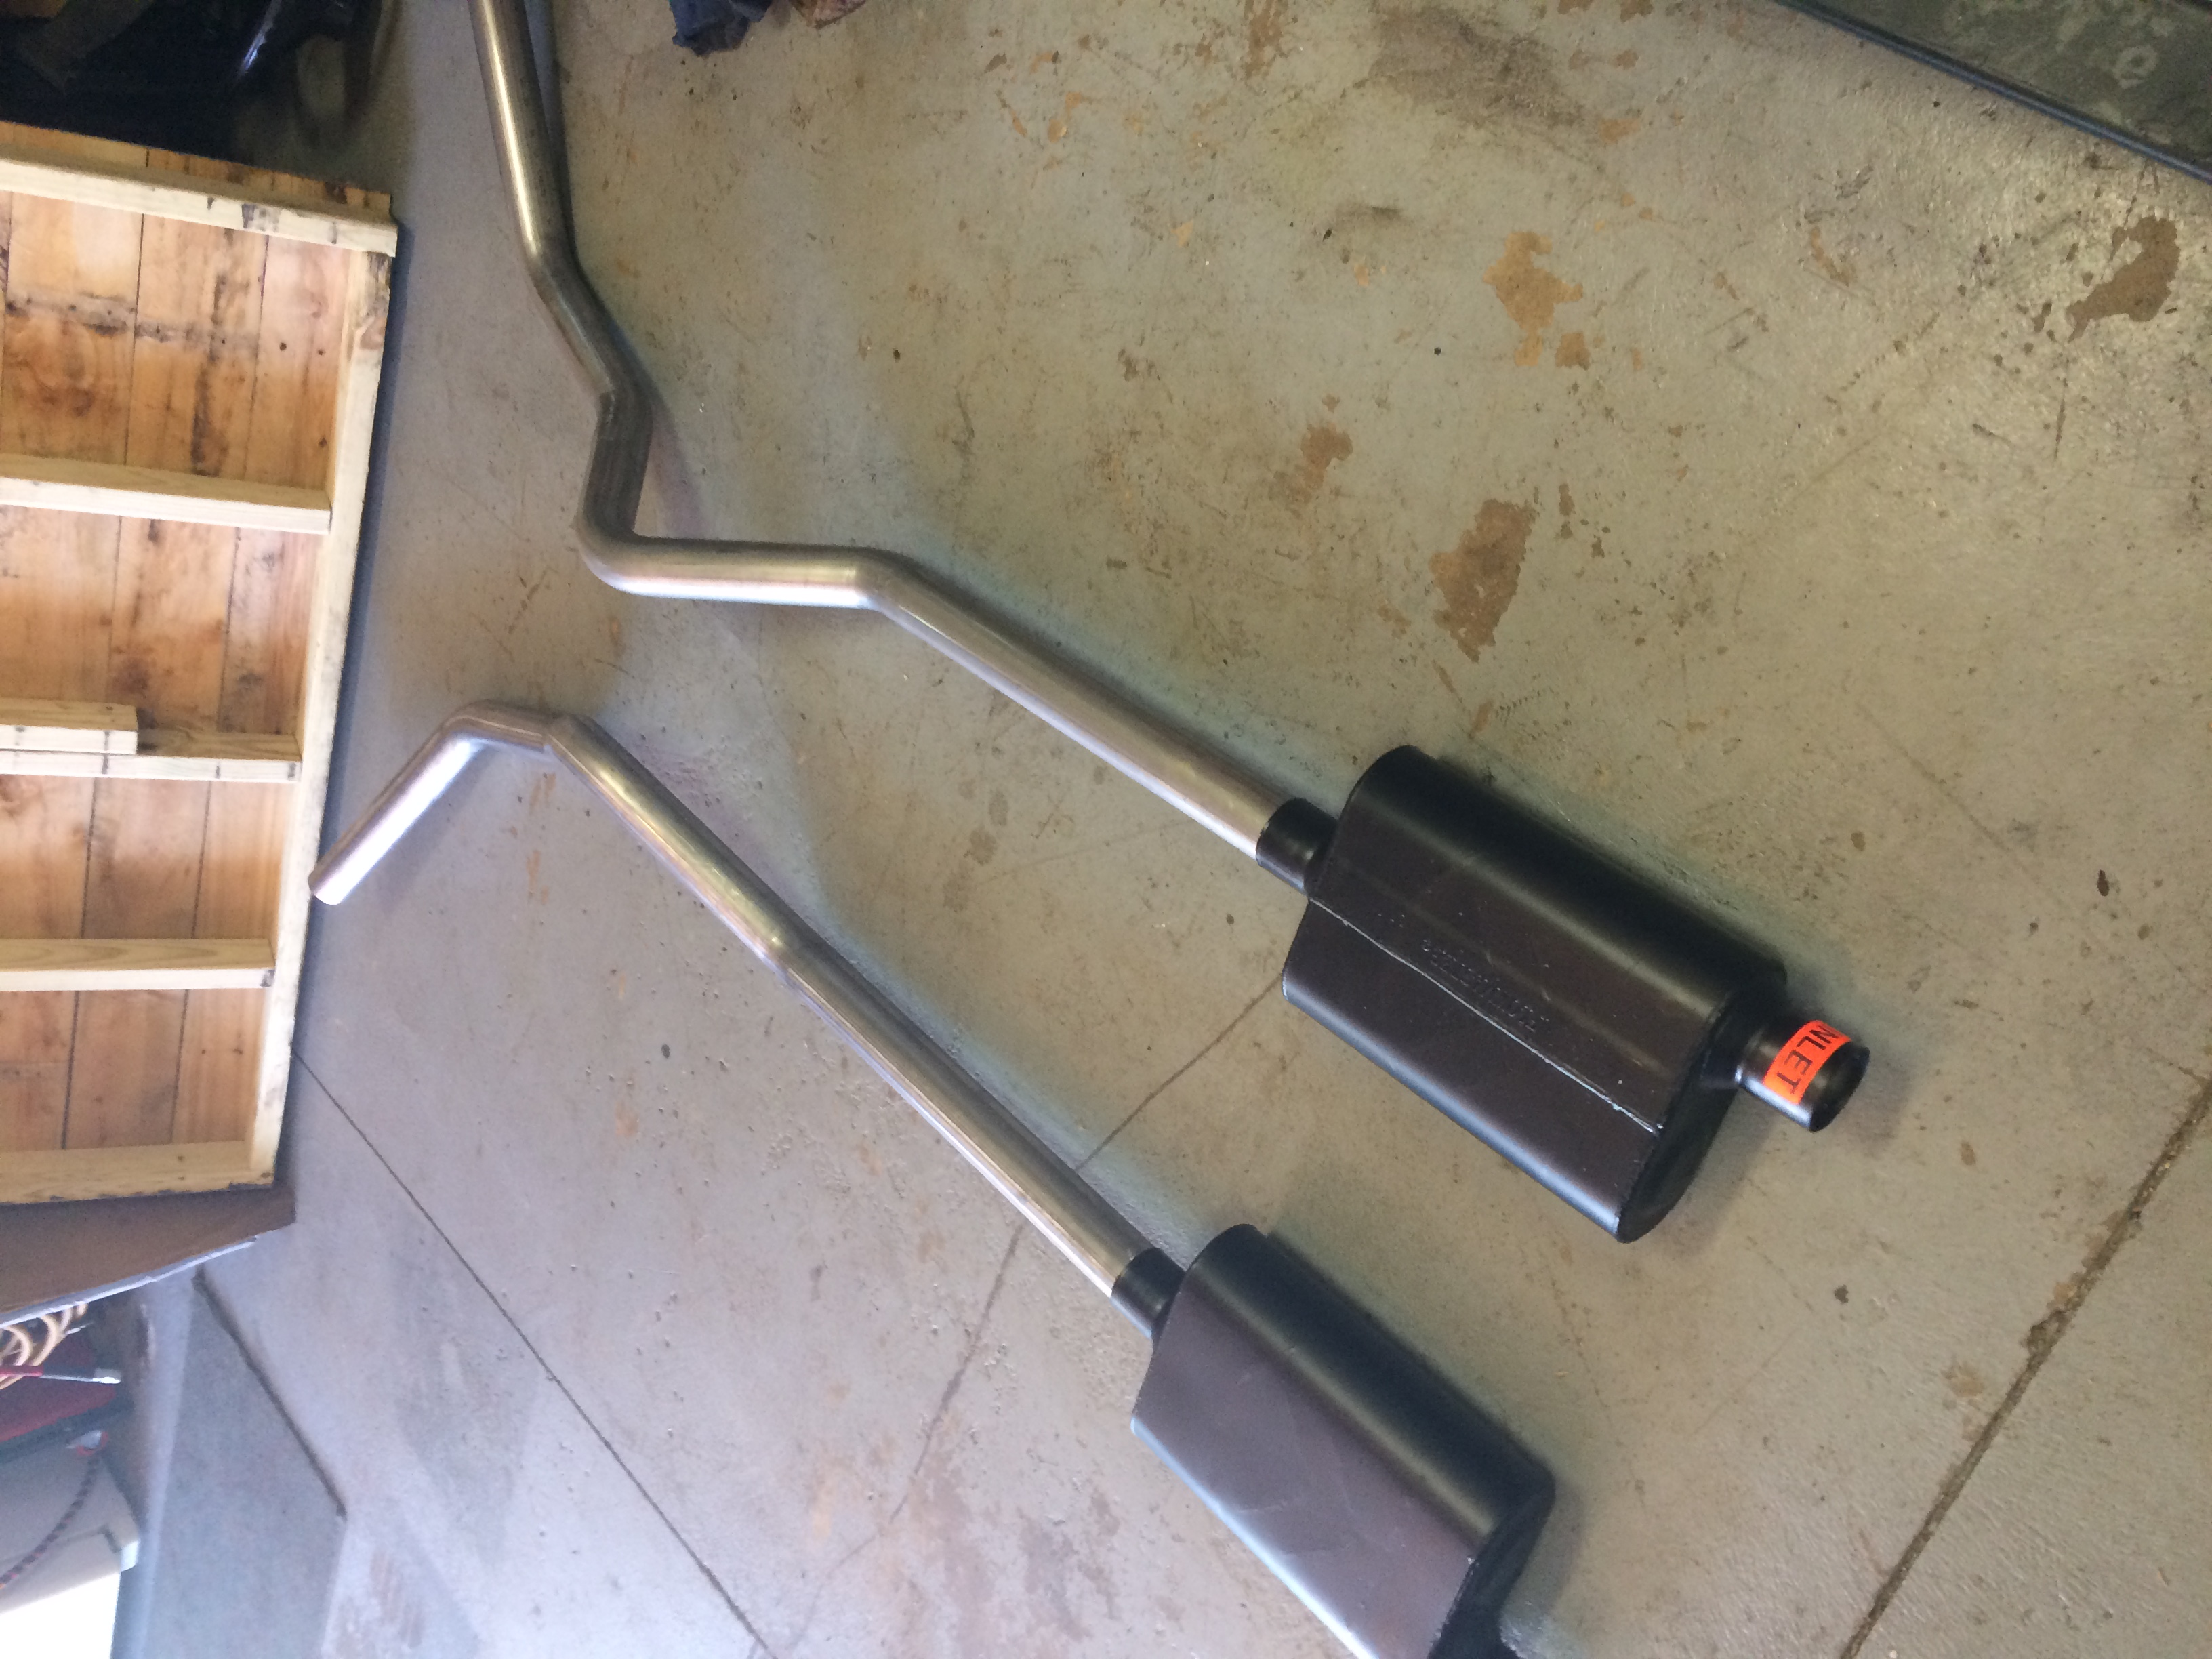
Dealing with getting around your transfer case might take come creativity, but I managed to do it with a set of Flowmaster S-Bend pipes. The driver side was set up well enough that I just needed a length of 2.5″ straight stock to get it all hooked up.

I’m sure there is a lot of variation with these trucks, and some of my advise with this might not be applicable to you. This should get you going in the right direction though, and if you have any questions you can always contact me. Happy building!
Author – Kyle Moran

